

QUESTION: Can I set up SMTP for free? My WordPress website’s emails aren’t sending.
ANSWER: Yes, you can! This guide walks you through one tried and true method, if your website doesn’t need to send thousands of emails a day.
Email deliverability from your website isn’t negotiable
From admin notifications to customer receipts for e-commerce, it’s vital that the emails your WordPress website tries to send… actually get to their recipient. And there are aalllllll kinds of things that can get in the way.
Luckily, there’s an easy fix that solves MOST of them, that just means taking a handful of steps, and using a couple of free tools.
Google Workspace SMTP
I should give the caveat, that if you don’t have a Google Workspace account for your business (which I highly, highly recommend having, and yes, that link will get you a discount if you don’t already have an account!) then there are more limitations on what you can do for free with their SMTP solutions. However, if your website is sending fewer than 200 emails a day, you should actually be fine without Workspace for this one!
The deliverability solution breakdown:
If you’ve noticed that your emails aren’t arriving, these are the steps I recommend for solving the problem without paying anyone a dime. Just a bit of your time, and you’ll be golden!
1 – Add Necessary Plugins
Step one, is heading to your plugin area, and adding both WP Mail Logging, and WP Mail SMTP. Why do you need both, when WP Mail SMTP already has an email logging option built in? Easy answer: Their logging tool is locked behind a paywall, so if you want to avoid spending your hard earned pennies on this one, the second plugin is needed to keep a log of your emails.
2 – Send a test email
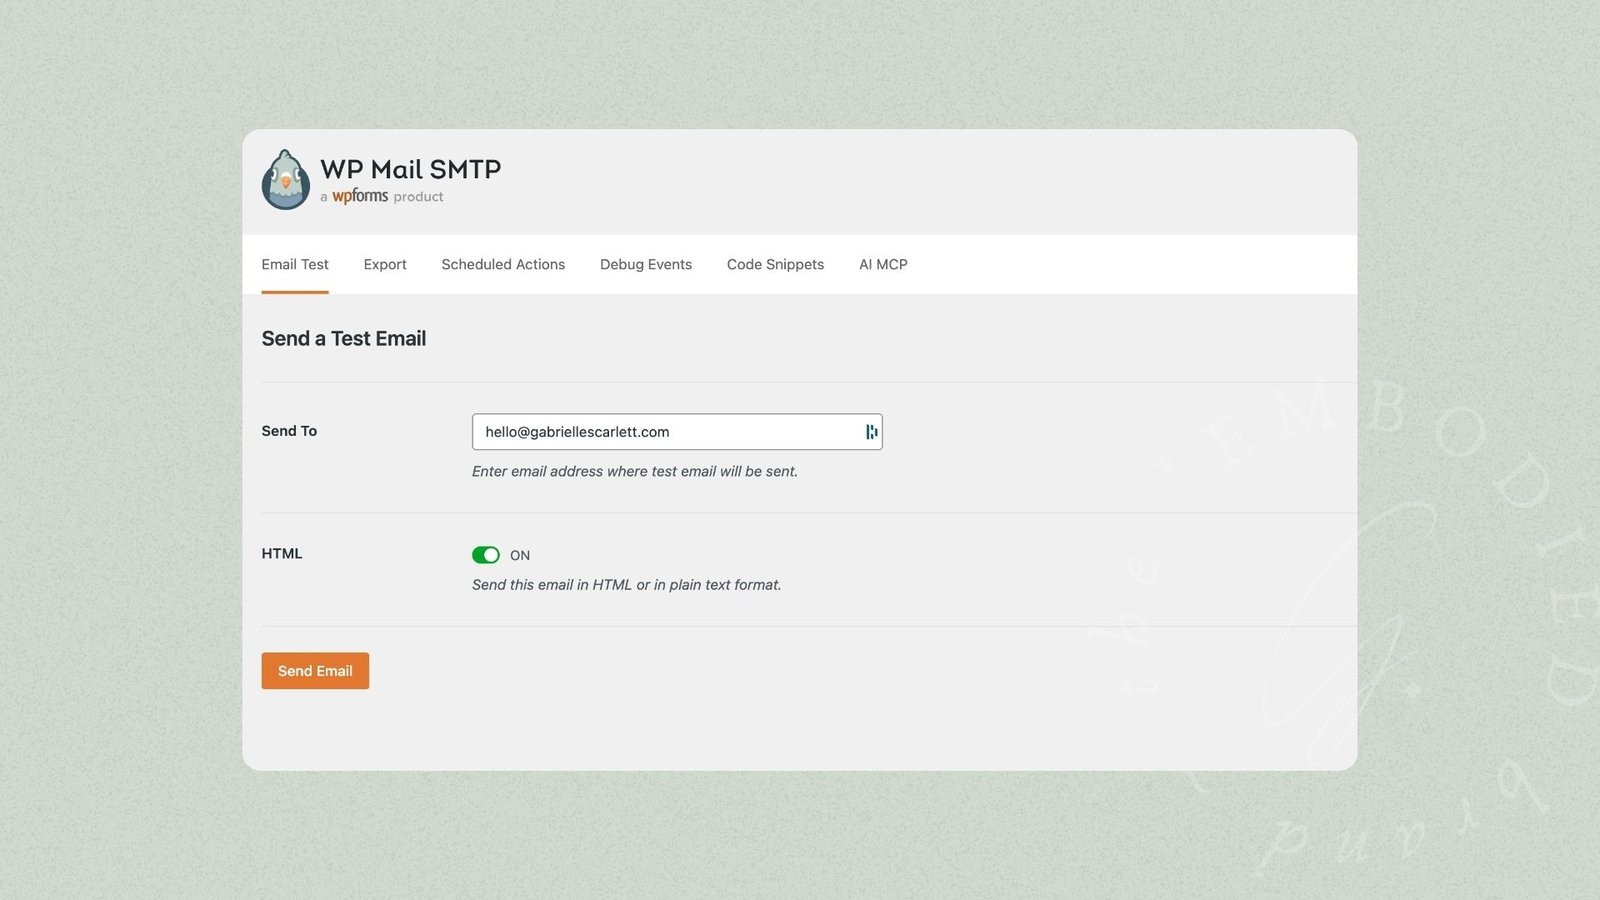
Once you’ve installed them, head over to WP Mail SMTP, and send a test email. I recommend doing this first, so that you can see whether there’s a weird error in the log if it fails to send. So once you’ve sent that, WP Mail SMTP will give you a report on things you could improve for deliverability, if you need to update your SPF record or add DKIM, for example. If it didn’t arrive, though… it’s time to keep going.
3 – Check WP Mail Logging for Errors
Quickly pop over to WP Mail Logging and see whether the test email logged an error – and if it did and it’s a weird looking one… Google that. We’re not doing weird errors today, we’re doing free SMTP setup. But if there’s no weird error, it’s time for the next step!
4 – Go to WP Mail SMTP Settings and get ready to rumble
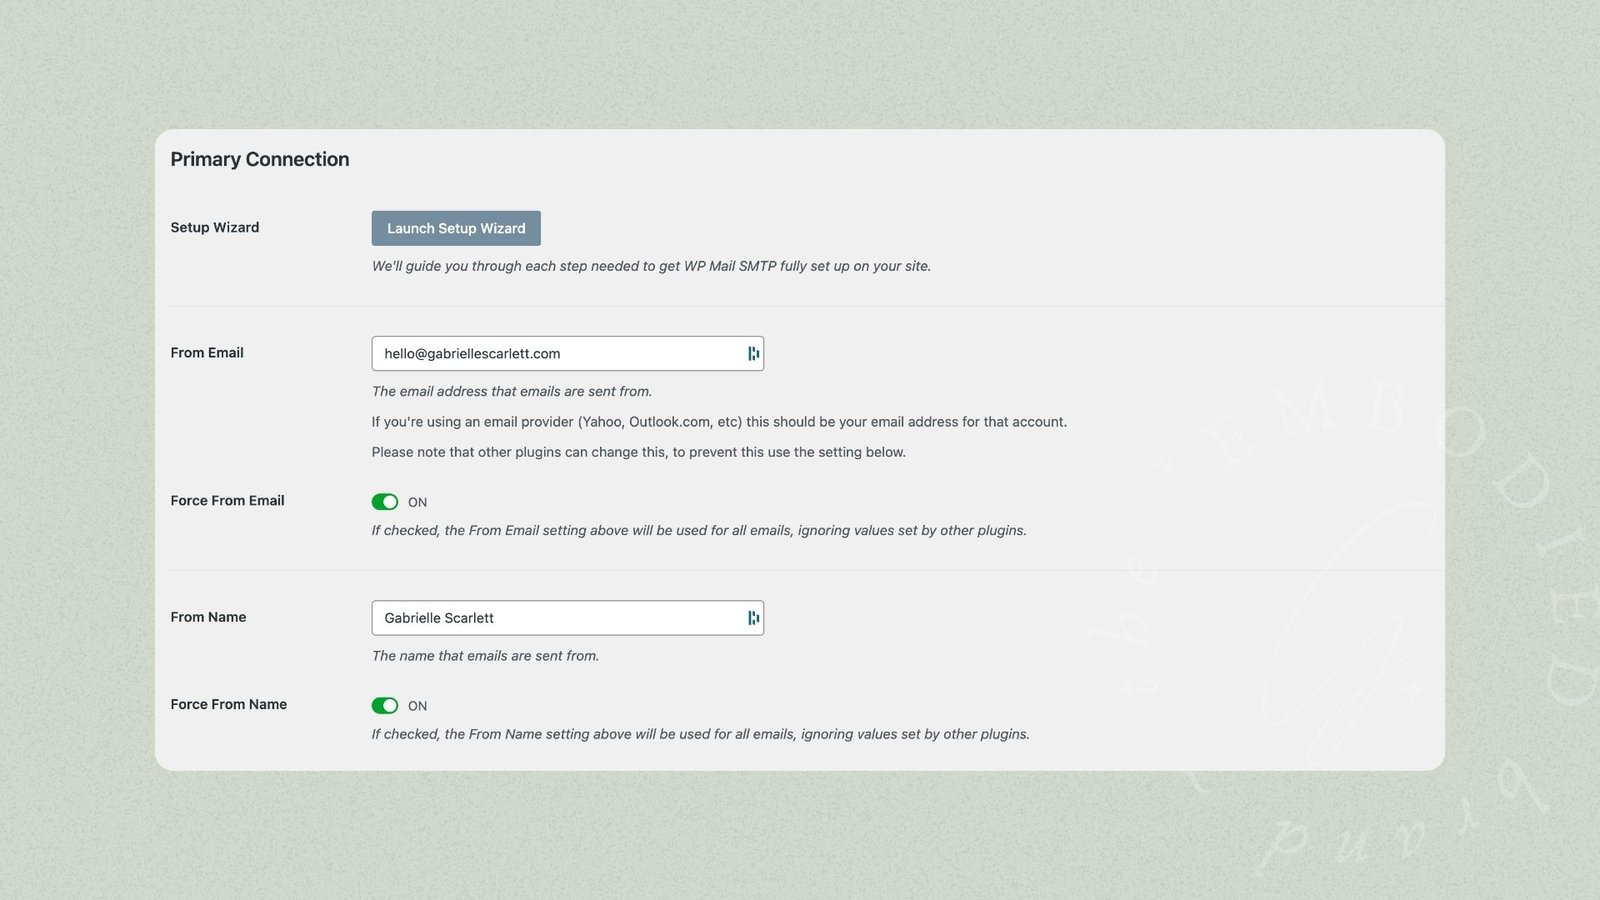
It’s time to set up your SMTP settings, and get ready to sort things out. Your first settings to adjust, are in WP Mail SMTP itself. And they’re the easy ones!!
Add your “from” email, decide whether you’ll force it, and set your “from” name. Again, you get to decide whether you’ll force that as well! If you have other plugins that, for example, modify the “from” name for things like WooCommerce receipts, you might want to leave it unforced. It entirely depends on your setup!
5 – Selecting Your Mailer
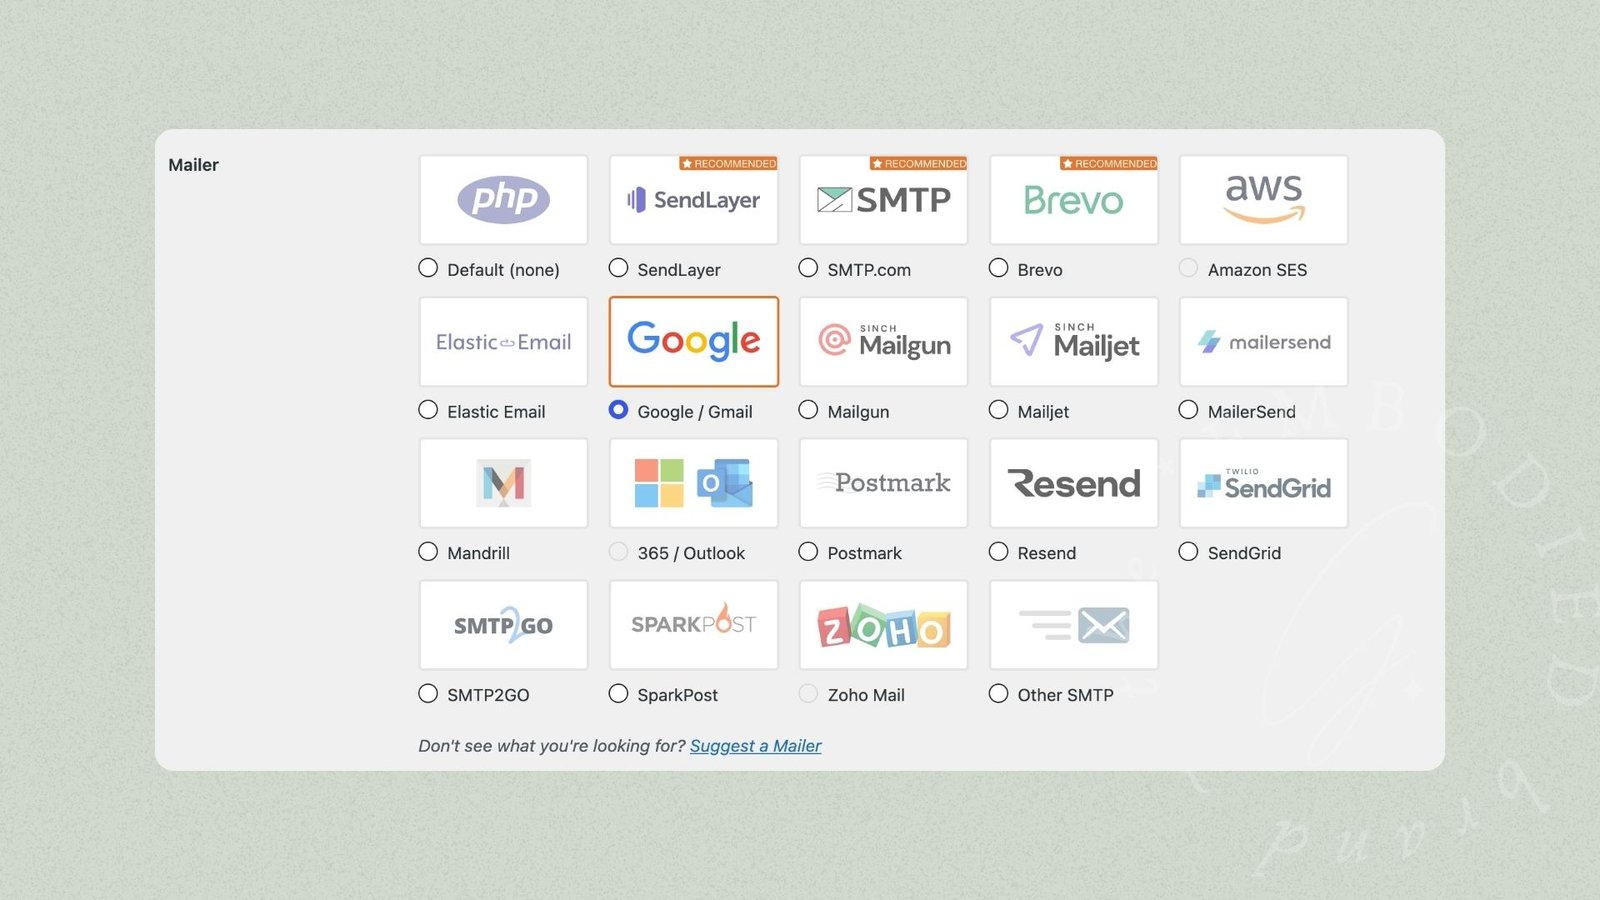
Now it’s time to get Google Workspace connected, and we’re actually about to leave your WP site momentarily. But first, select “Google/Gmail” as your mailer, in the mailer section. That will open up a separate customization area.
*Note: It’ll also launch a warning field, that tells you there may be limitations on your sending if you’re using Google SMTP. If you run a SMALL website, and the issue here is that you’re not getting your own contact form submissions, or you’re not getting your own error messages, then you’re likely to be fine. If you run a WooCommerce shop that sends 10k emails a day, you shouldn’t be using this guide, you should hire someone to fix this with tools that are fit for purpose.
6 – Google Cloud Platform
I should give the caveat, that if you do want to indeed pay for WP Mail SMTP, then you can use their “one click” integration option, which is an easy toggle that walks you through an authorization, and then you’re done.
But if you’re team “I am absolutely not paying for that” then it’s time to go log into Google Cloud Platform, and make what will probably be your first app!
Before you click that link above to go to your dashboard, I recommend you do it in incognito, logged into ONLY your Google Workspace account for business. That way, you can’t accidentally be in the wrong account. That makes this step technically: (1) Open an incognito window, (2) Log into your Google Workspace account, (3) Go to Google Cloud Platform in THAT incognito window.
As an aside, I think it’s important that I note here, if this is starting to sound complicated: you can ABSOLUTELY handle this setup, even if you’ve not touched Google Cloud Console before. I know it sounds (and looks) kind of intimidating, but as long as you follow the steps outlined here, you’ll be able to get this launched in something like 30 minutes. And half of that is waiting for Google to provision your account when you first log in, so it’s more like 15 minutes, honestly.
7 – Allow Google Cloud Platform to Provision
Since this is probably the first time you’ve logged into this side of Google, it’s probably going to take you through the terms and conditions setup – do this as usual, telling it your location and accepting the terms.
Then this is the point I recommend going and making yourself a cup of tea, because if you’ve not logged into this before, it’s going to take a moment for Google Workspace to be like “oh, right, this person is an administrator on the domain they already have connected to Google Workspace”.
When I did it, I couldn’t actually move onto the next step, took ages reloading pages and trying to troubleshoot why I couldn’t select an “organization” – when there was actually nothing I needed to do. It was just the first time I’d logged in, so Google took a second to catch up. So yeah. Go make a coffee, or clean your kitchen counter, or tidy something. Then come back, and head to the next step!
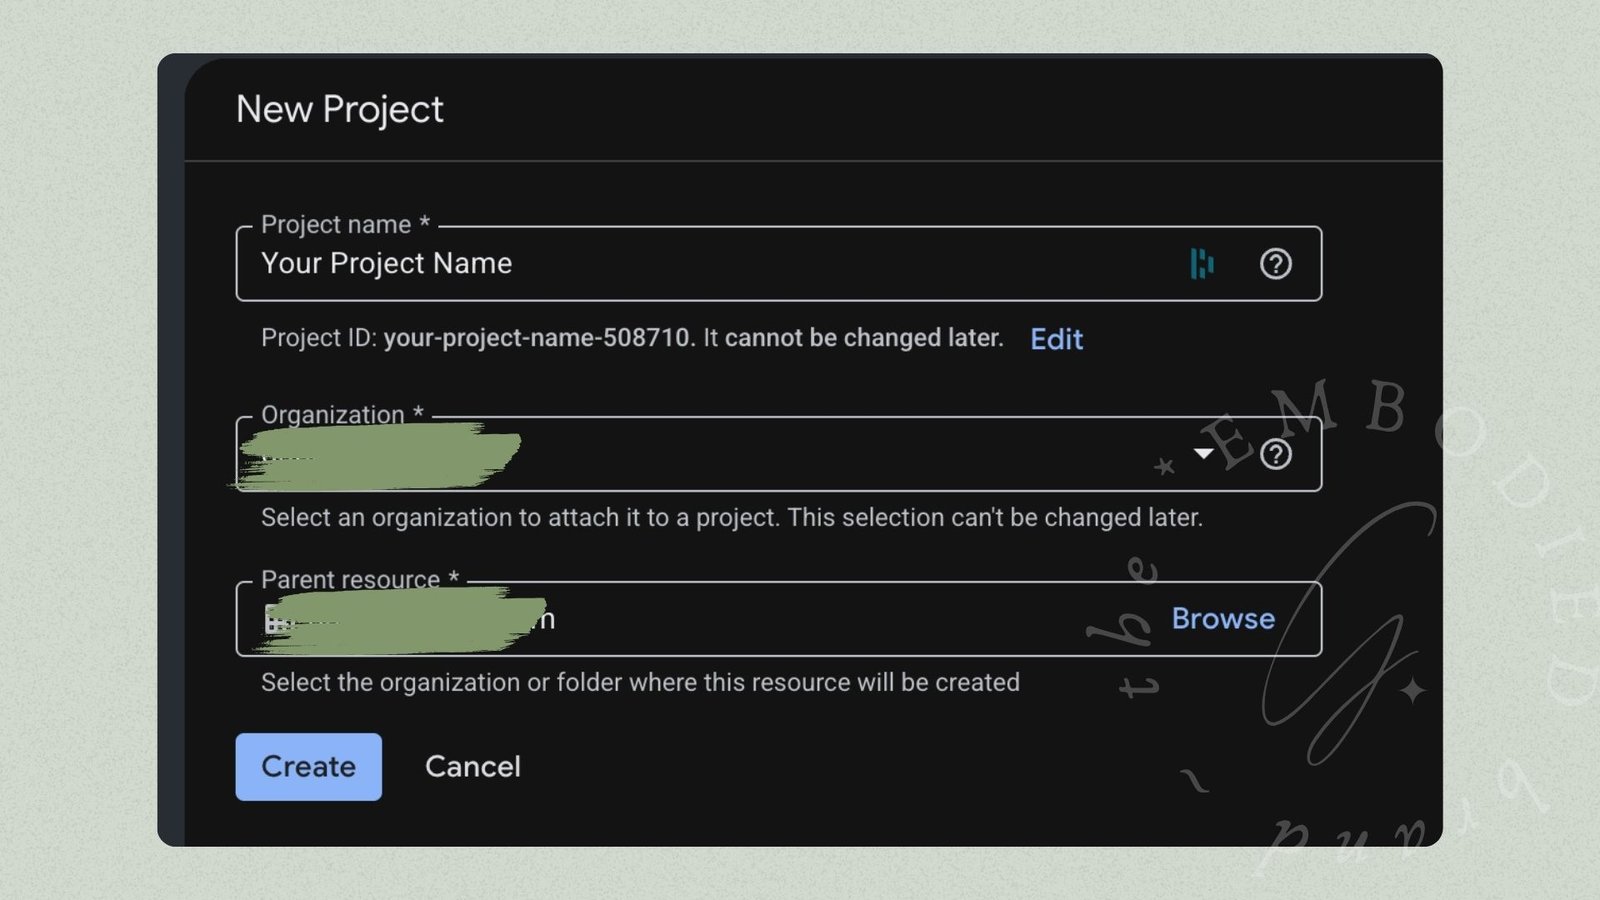
8 – Choose or Create a Project in Google Cloud Platform
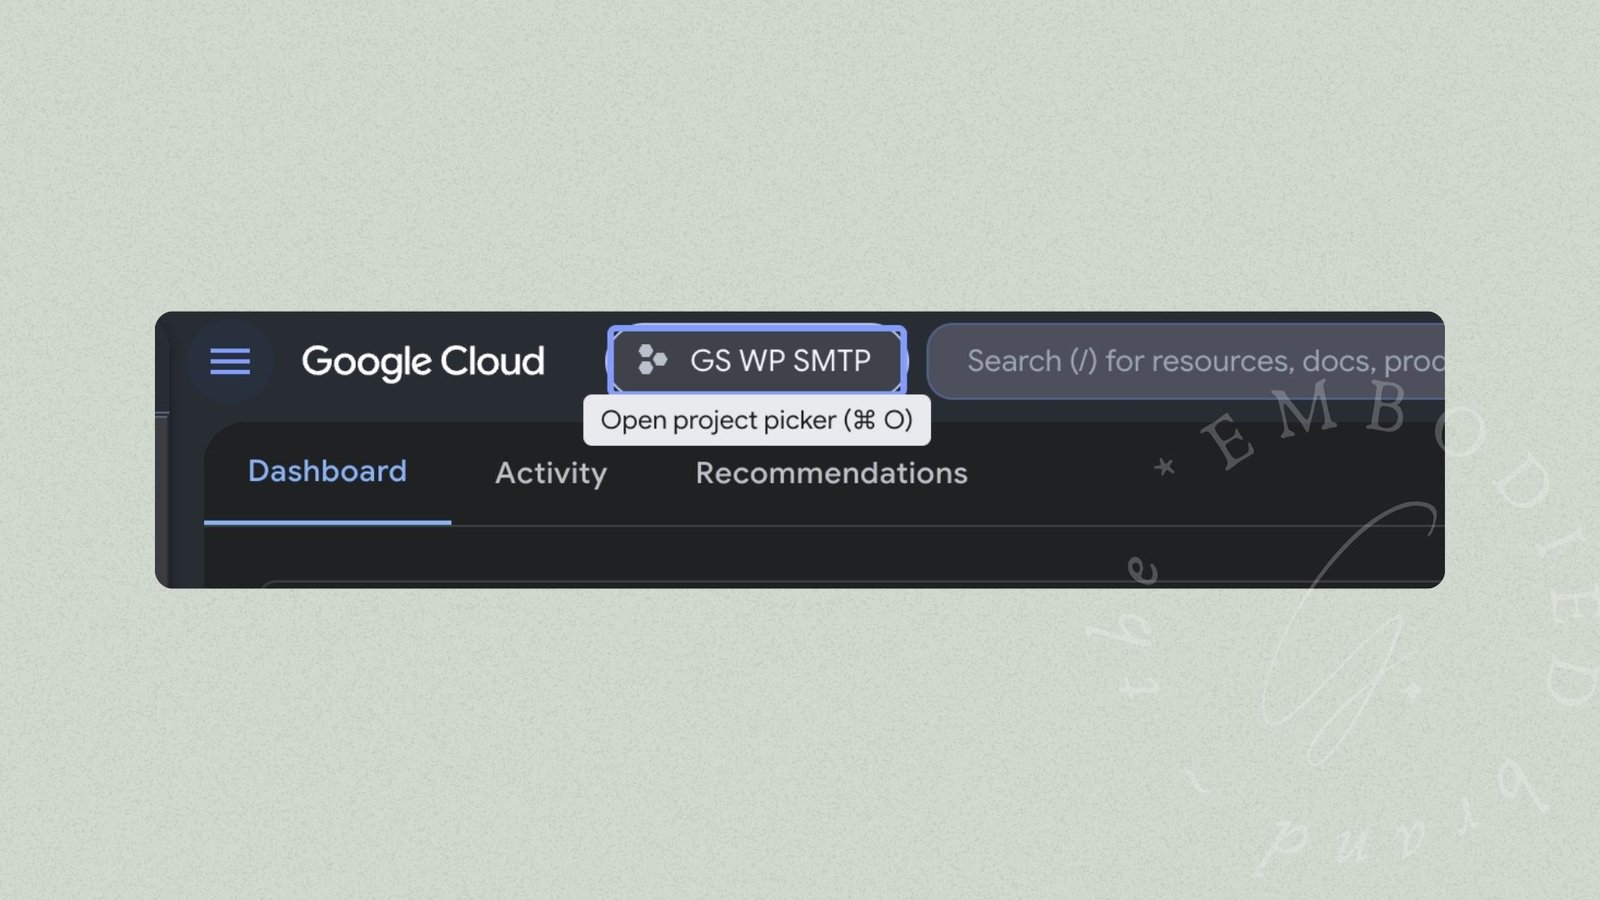
If you’ve already got a project in there – then select it. Or if you’re new, create a new one. You’ll need to select your Organization as mentioned above, which, if you’ve already set up your domain via Google Admin, and you took a break to tidy your livingroom while Google provisioned your account, should appear in the dropdown.
9 – Navigate to the API Library
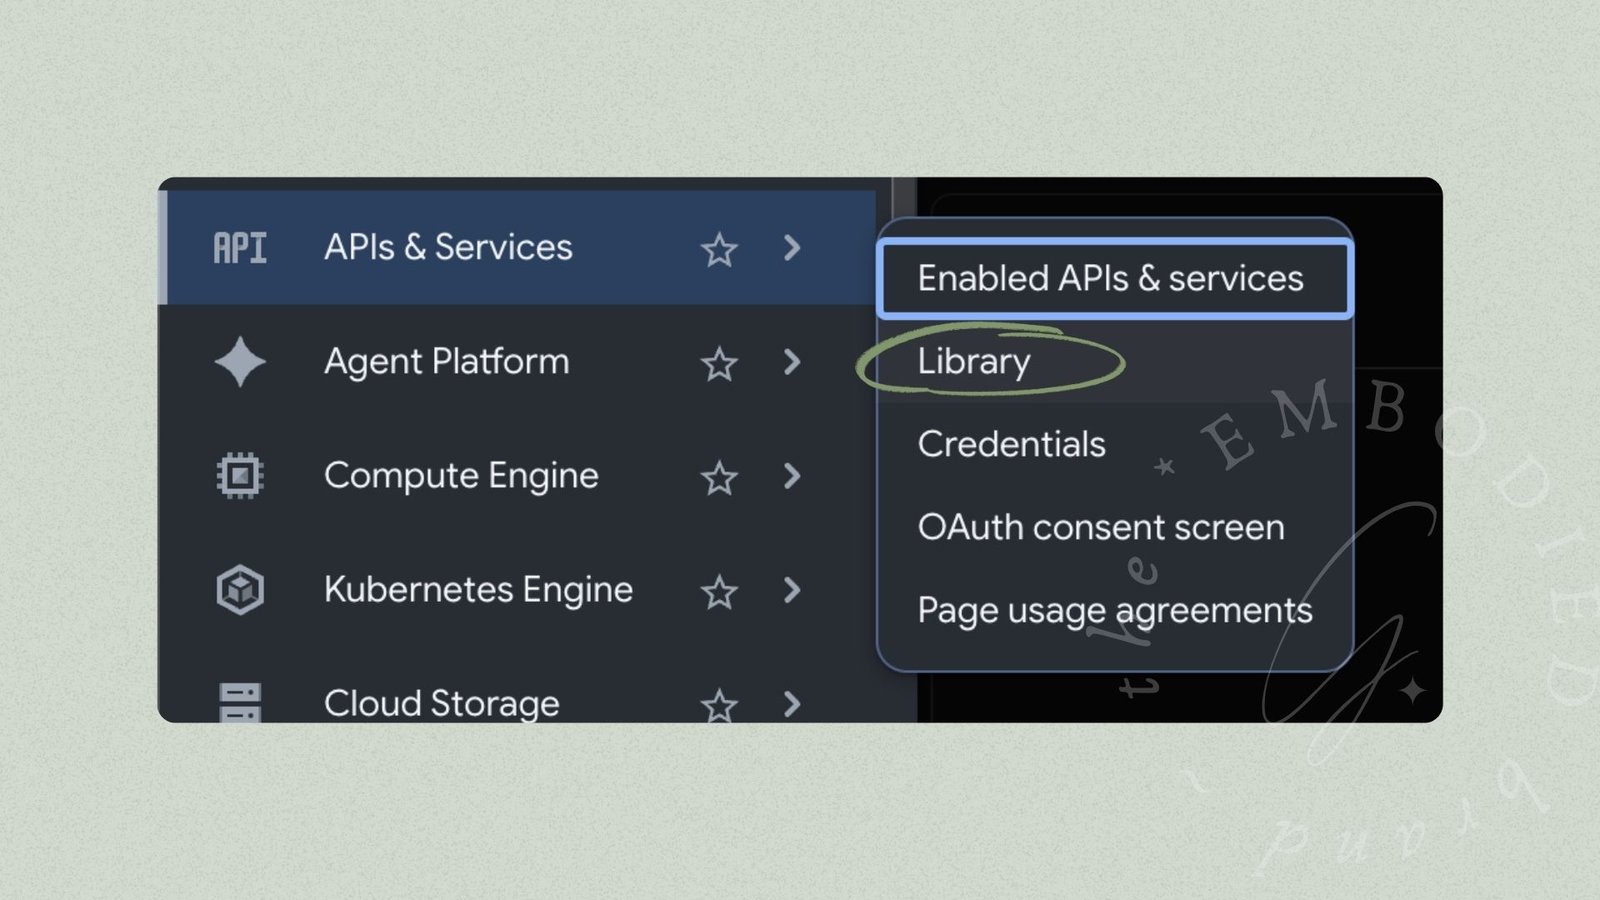
Next up is navigating over to the API Library, so that you can enable the Gmail API. You’ll find “APIs & Services” in your lefthand sidebar menu, which you can hover over to see the “Library” option. You might have to scroll a bit to find the option!
10 – Search for GMail API in the Library & Enable it
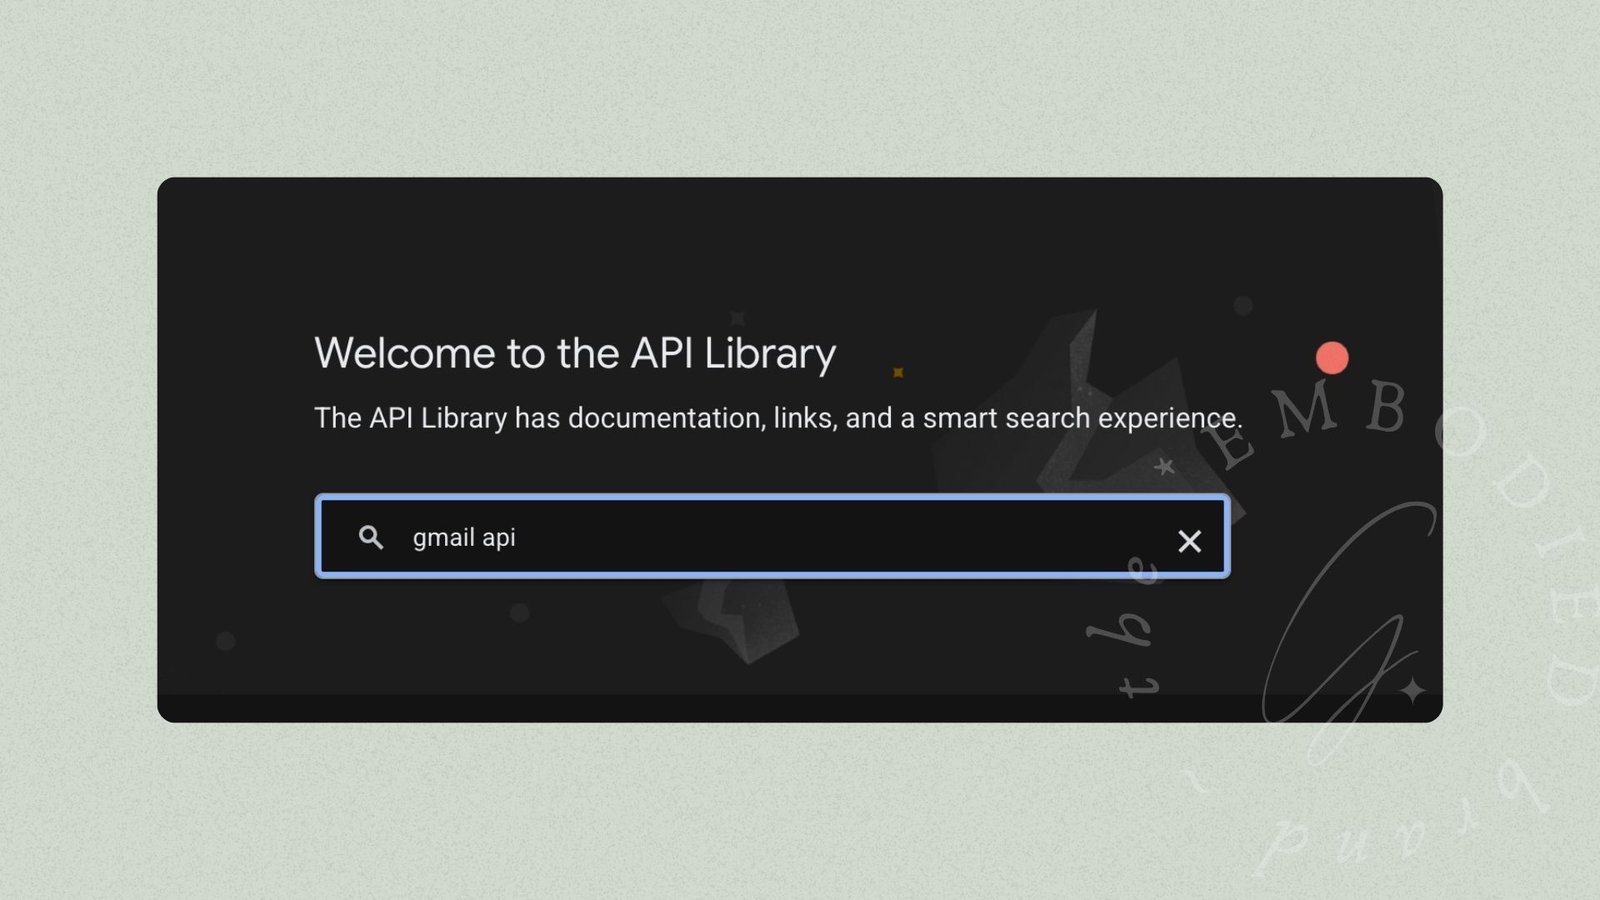
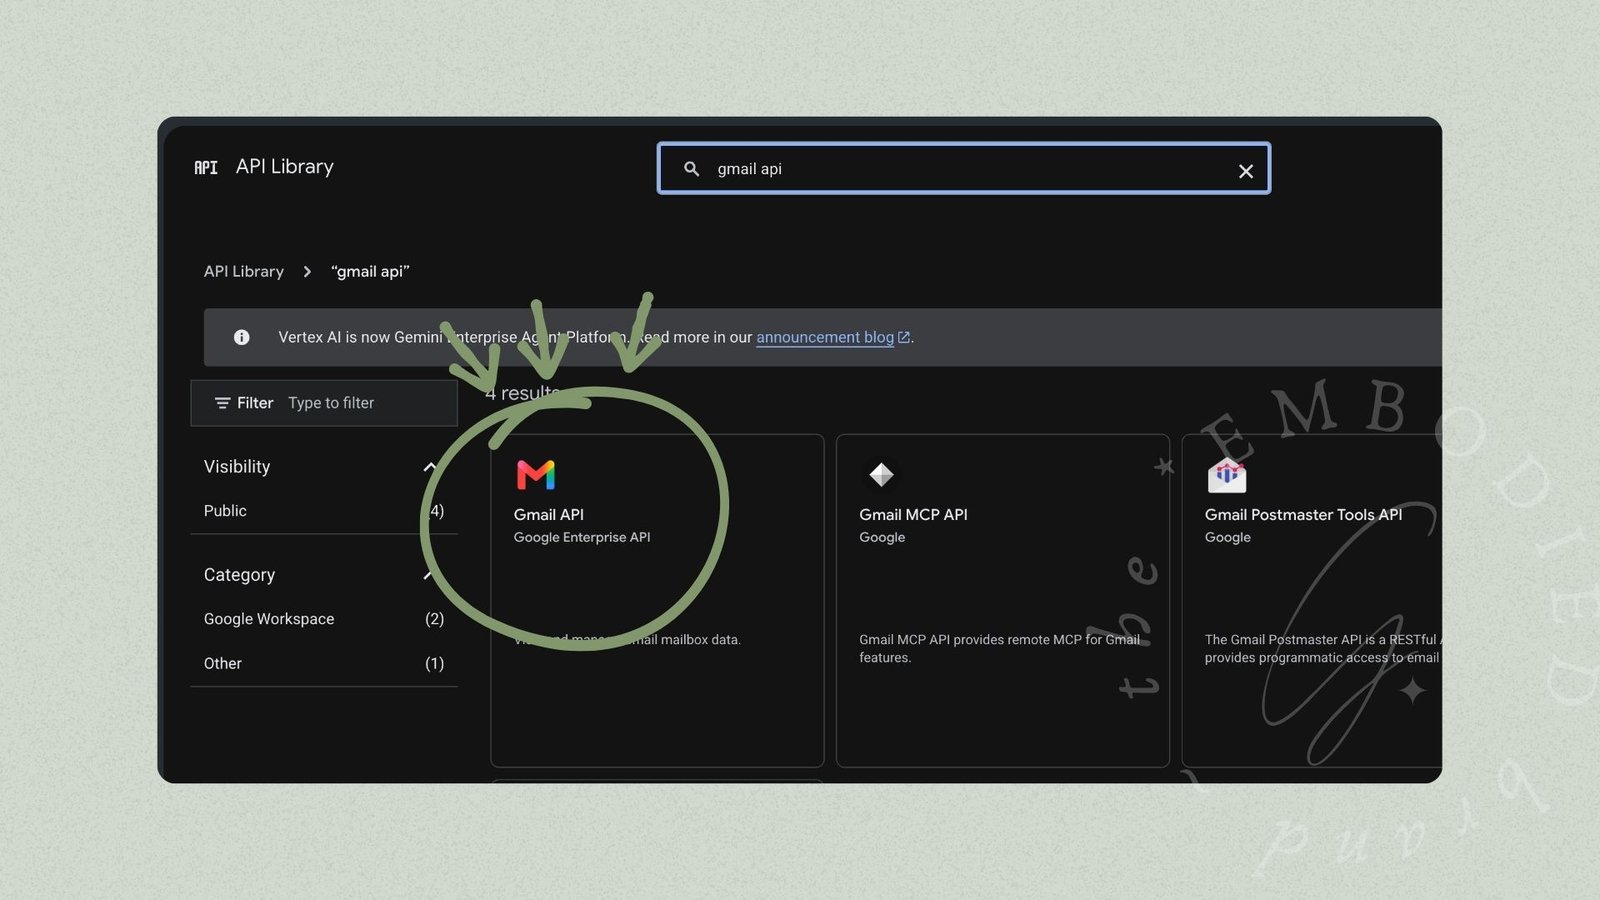
Once you’re in the Library, you’ll see a search bar, into which you should enter “Gmail API”. That’ll bring you to the entry for Gmail, which you can select, and then enable right there!
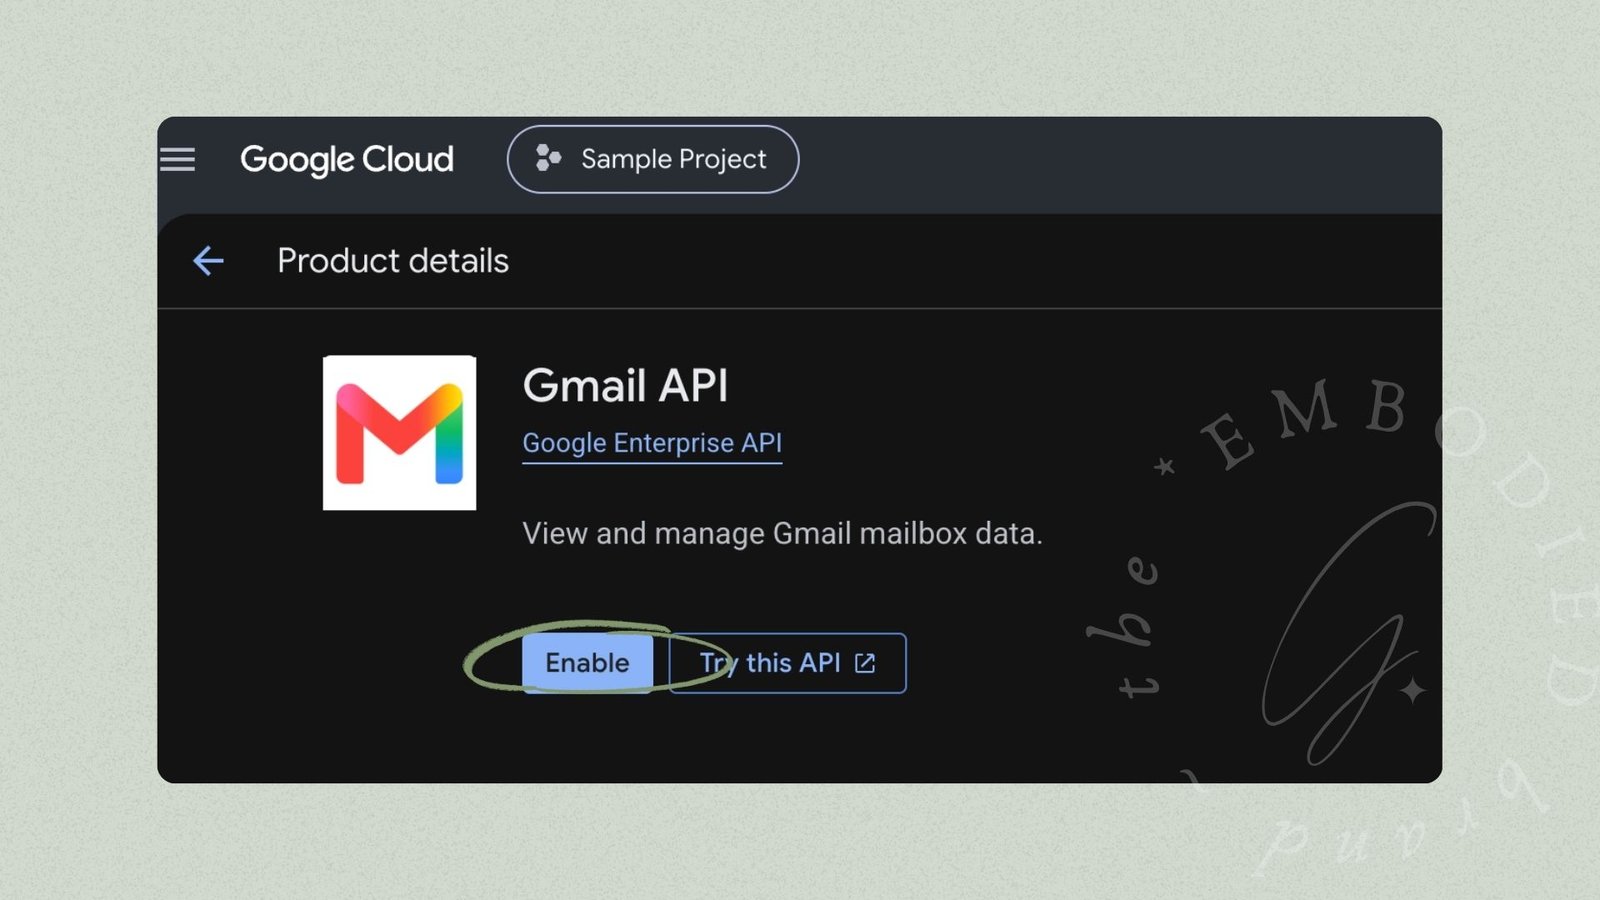
11 – With the GMail API Enabled, it’s time for Credentials
To kick start this step, you’ll want to select “Create Credentials” on the page that opens up once you’ve enabled the API.
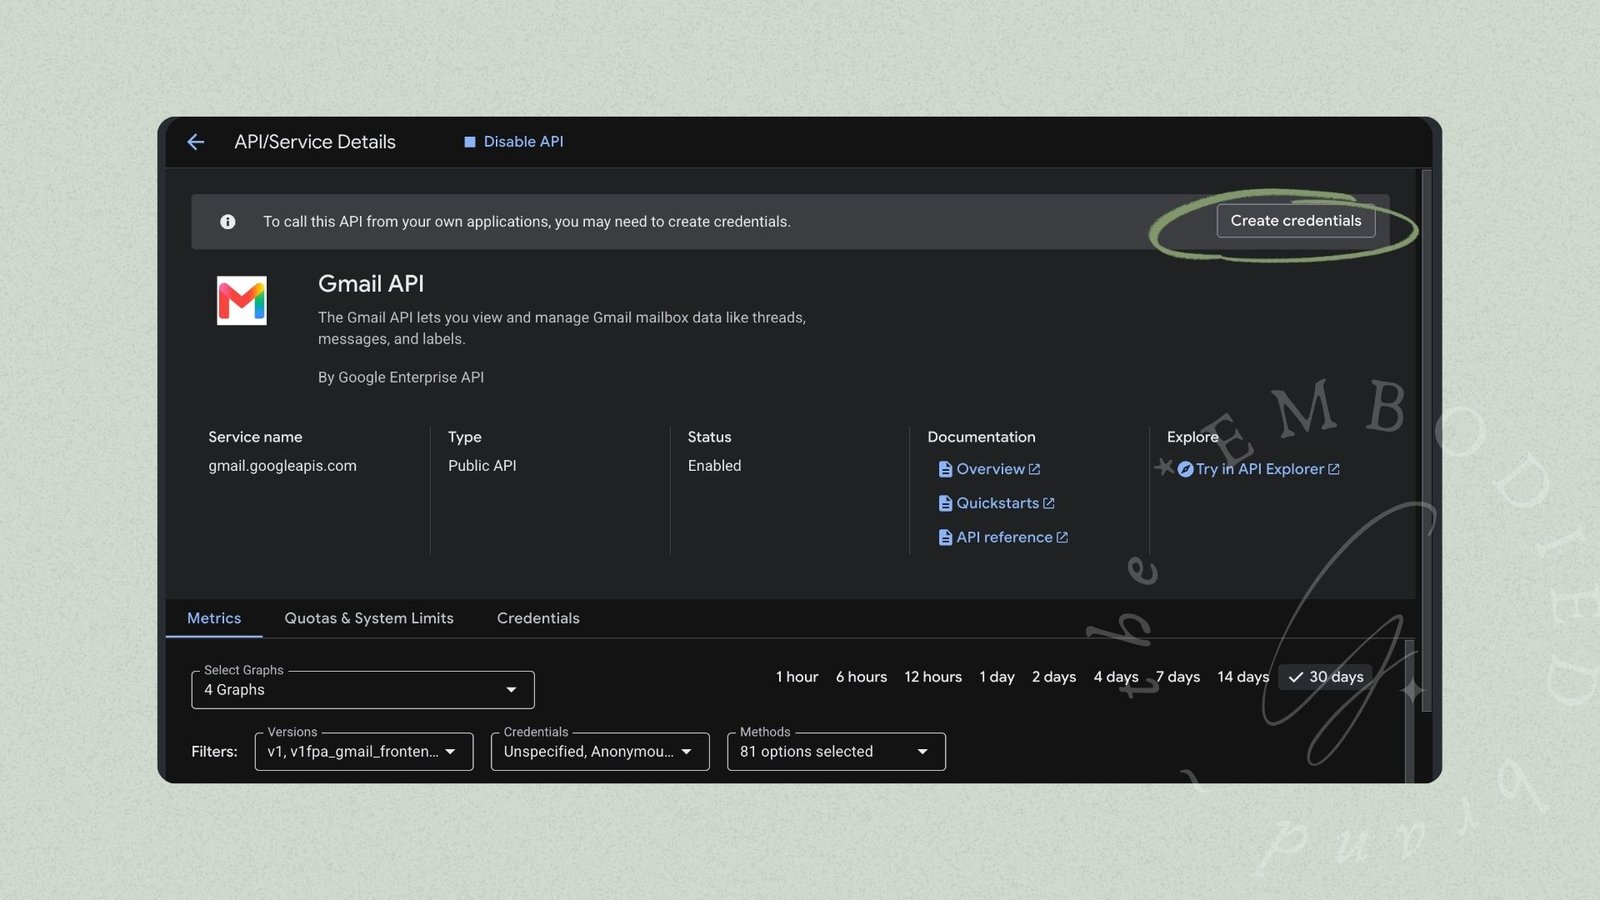
That will bring you to the page you see below, where you should select “Gmail API” from the dropdown, and “User Data” in the section labeled “What data will you be accessing”. Then, click “next”.
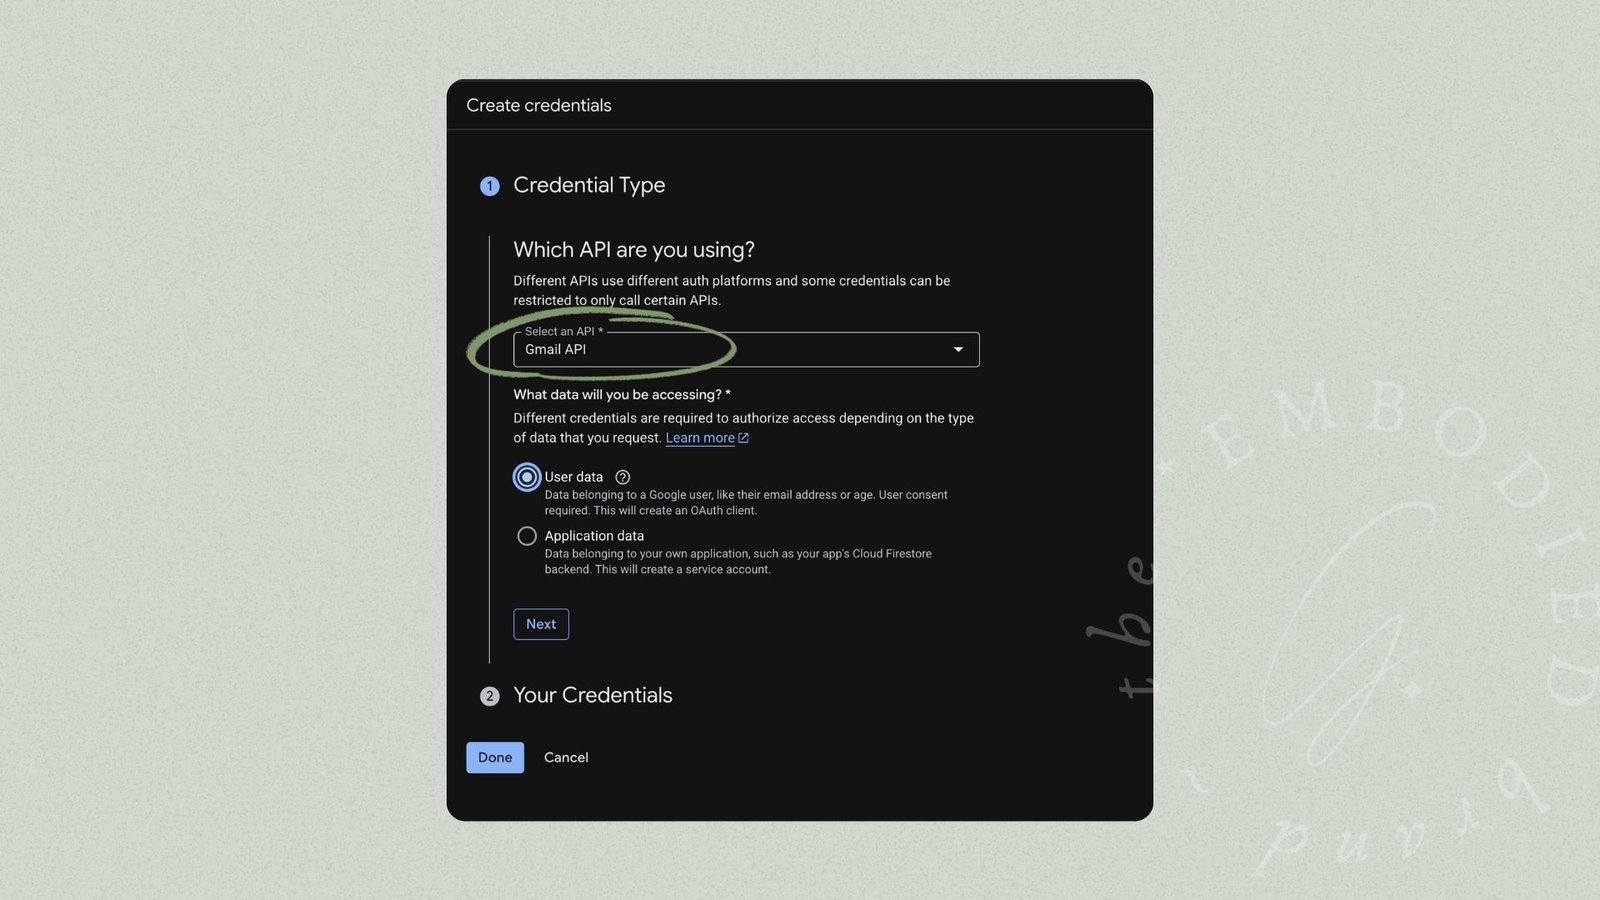
12 – Configure the OAuth Consent Screen
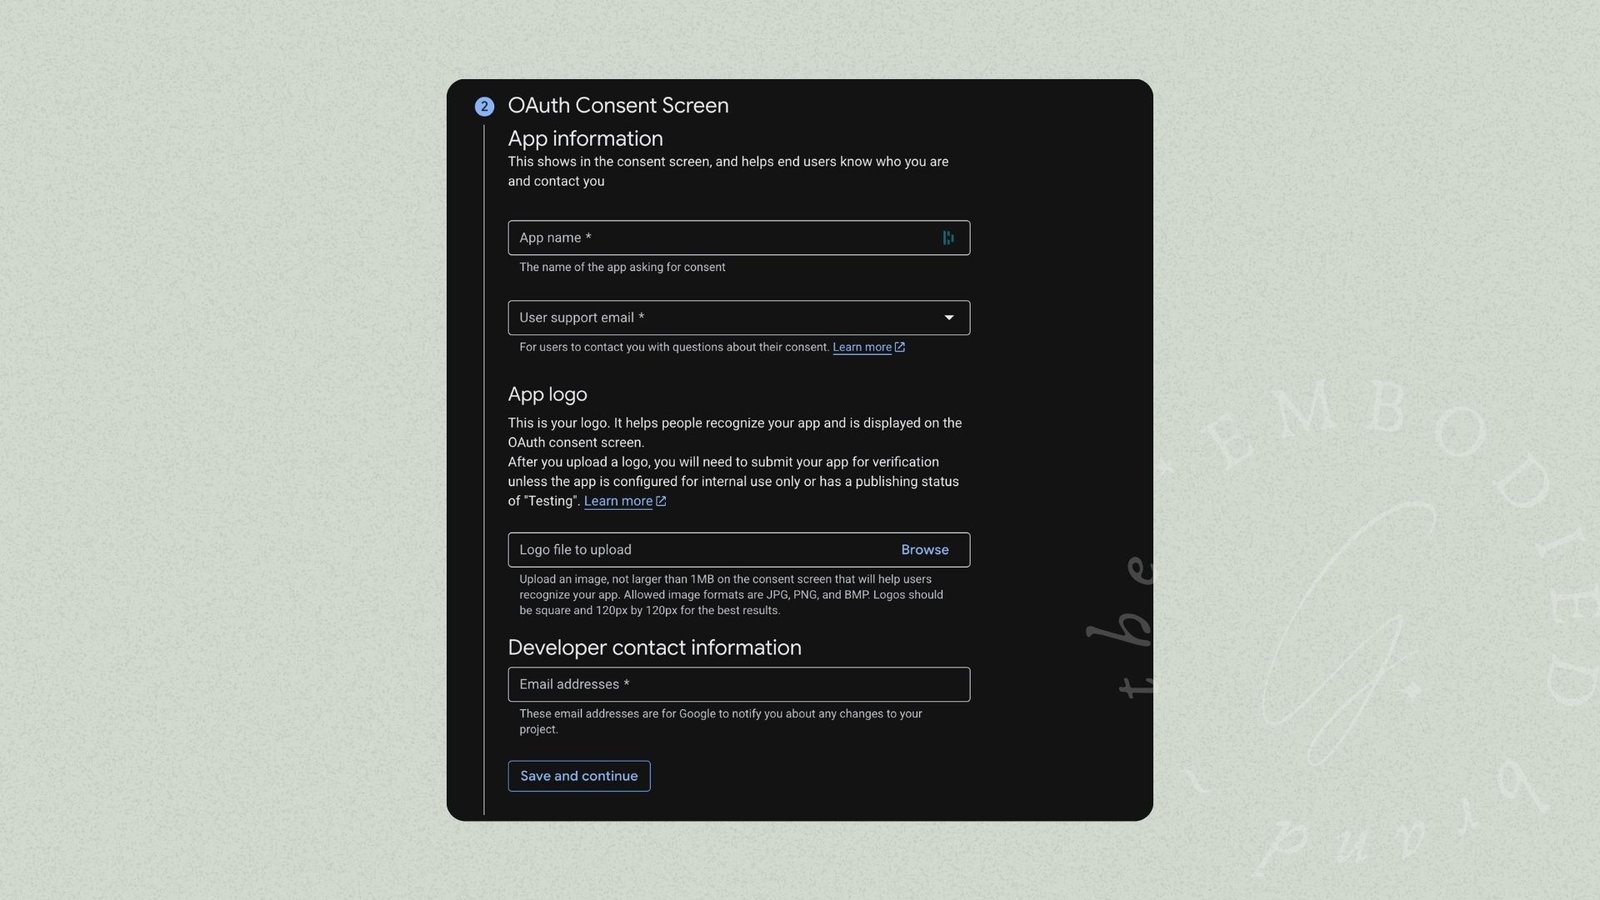
The next space Google will take you to, is the configuration process for your OAuth Consent Screen. This is pretty straightforward. The logo field is optional, but give the app a name you’ll remember like “WP SMTP” and then enter your appropriate contact information in the provided fields.
13 – Skip Over the “Scopes” Step
You’ll then be taken to the “Scopes” step, which we’re going to skip for this tutorial because it’s not necessary for SMTP setup at this time. You skip by clicking “Save and Continue” without filling any fields!
14 – OAuth Client ID Setup
After you’ve skipped the “Scopes” step, Google will populate a screen with fields for OAuth Client ID setup. First, you’ll want to tell it this is a “Web Application”, so select that from the dropdown. Then, it’ll ask for a name. You can give it something memorable, or just keep the default.
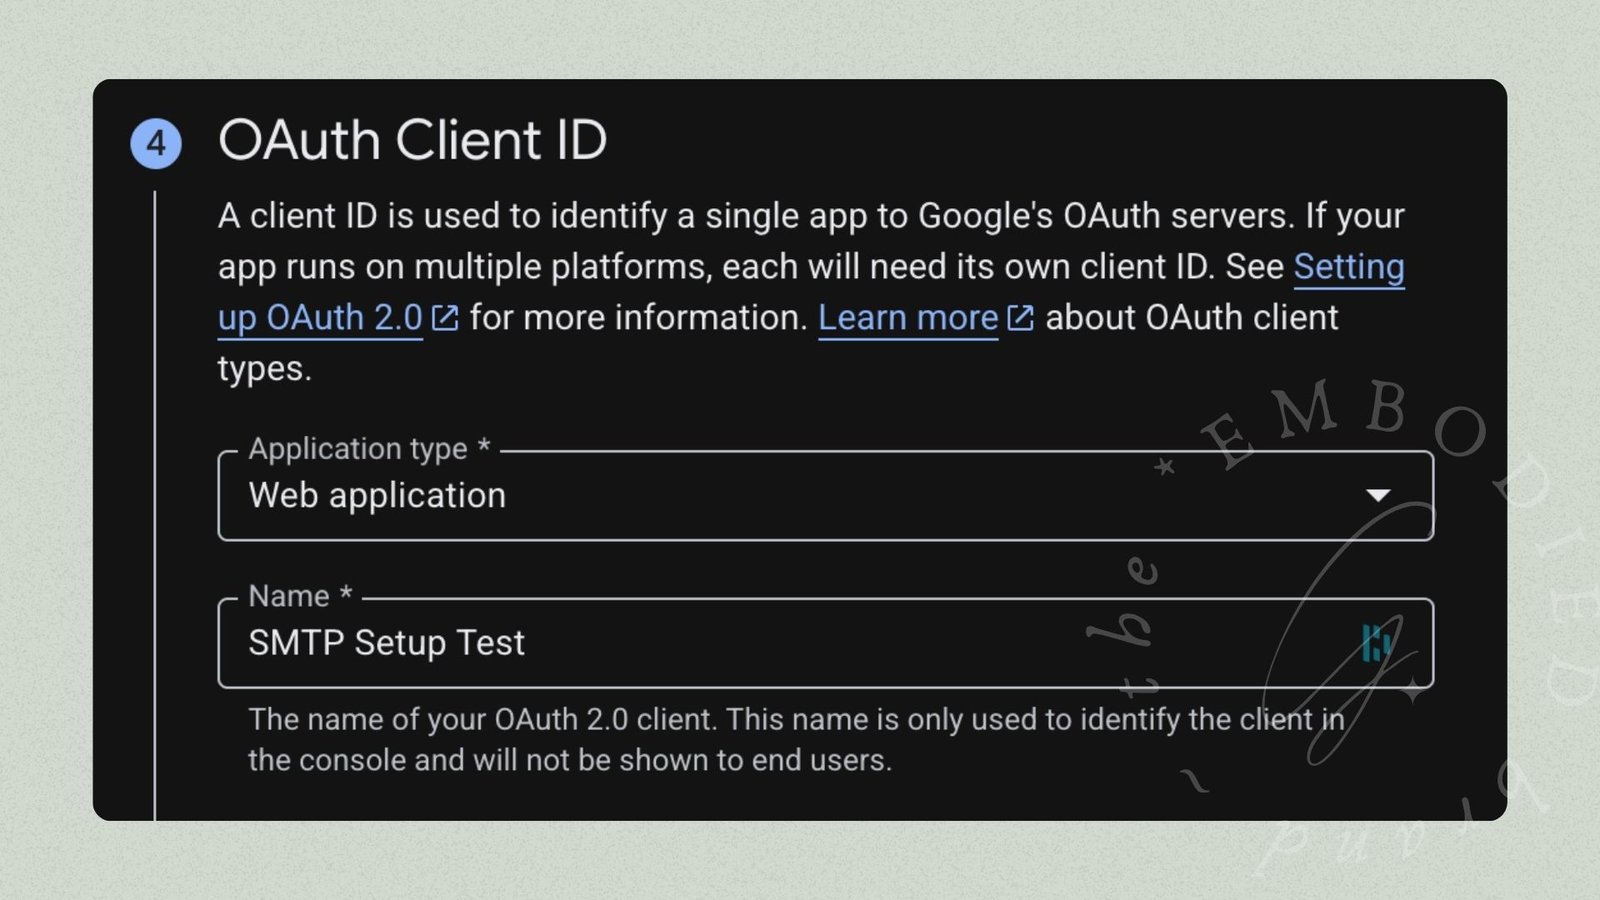
For SMTP setup, you don’t need to give the application JavaScript origins, so you can safely leave that blank. However, it will need Authorized Redirect URIs, so for setup with the plugin we’re using, you’ll click on the “add URI” button and input the following: https://connect.wpmailsmtp.com/google/. Then, click “Create”!
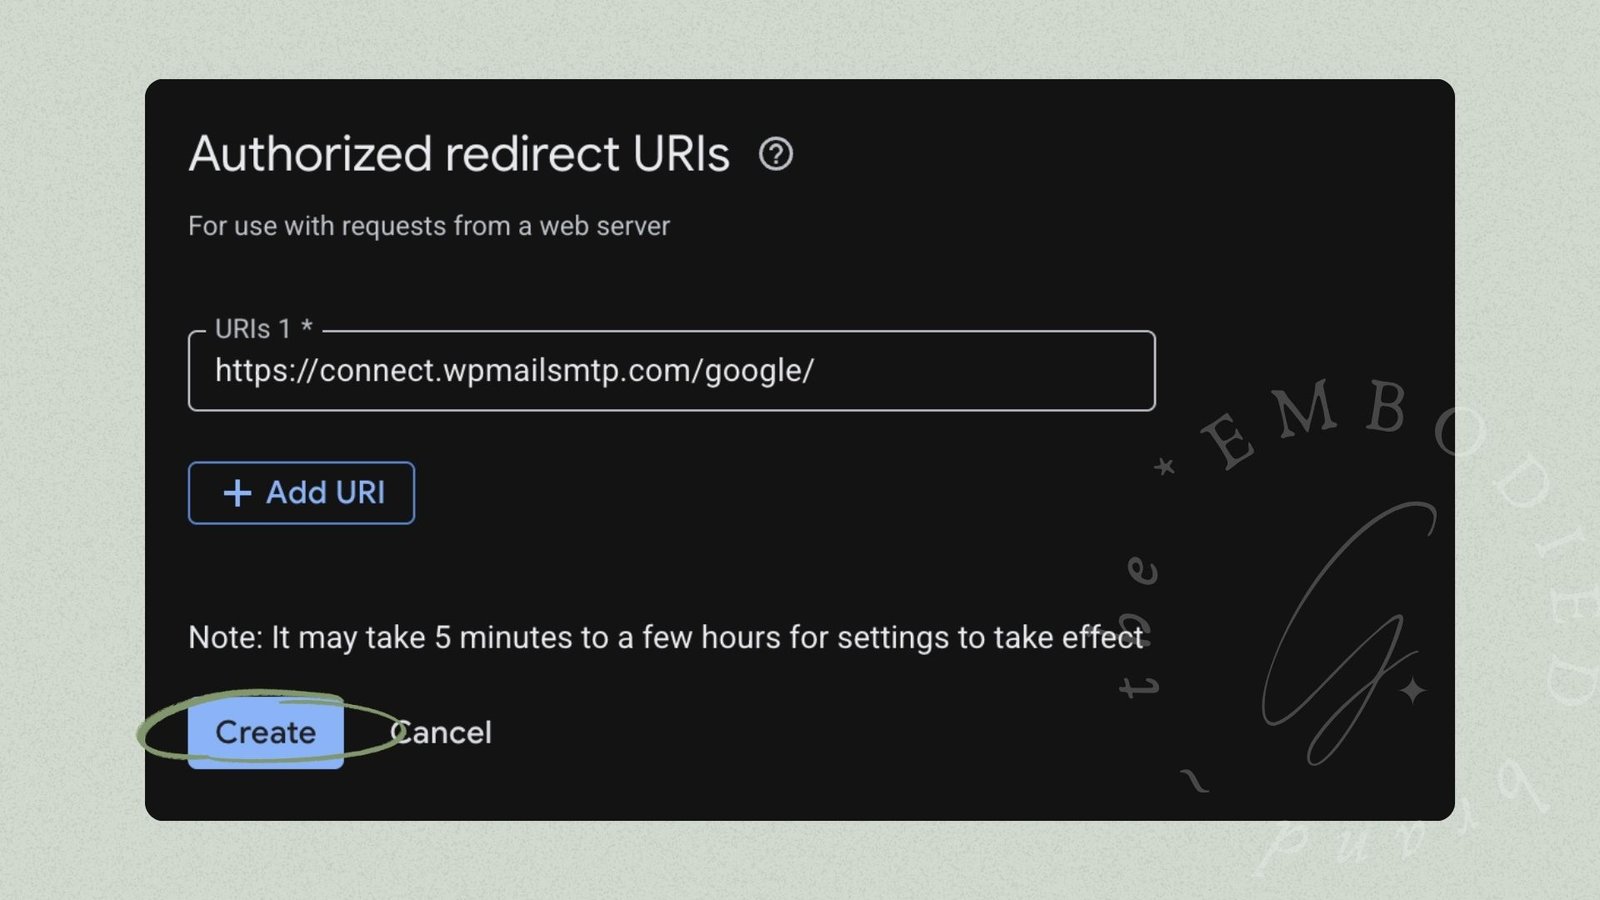
15 – Download your Client ID
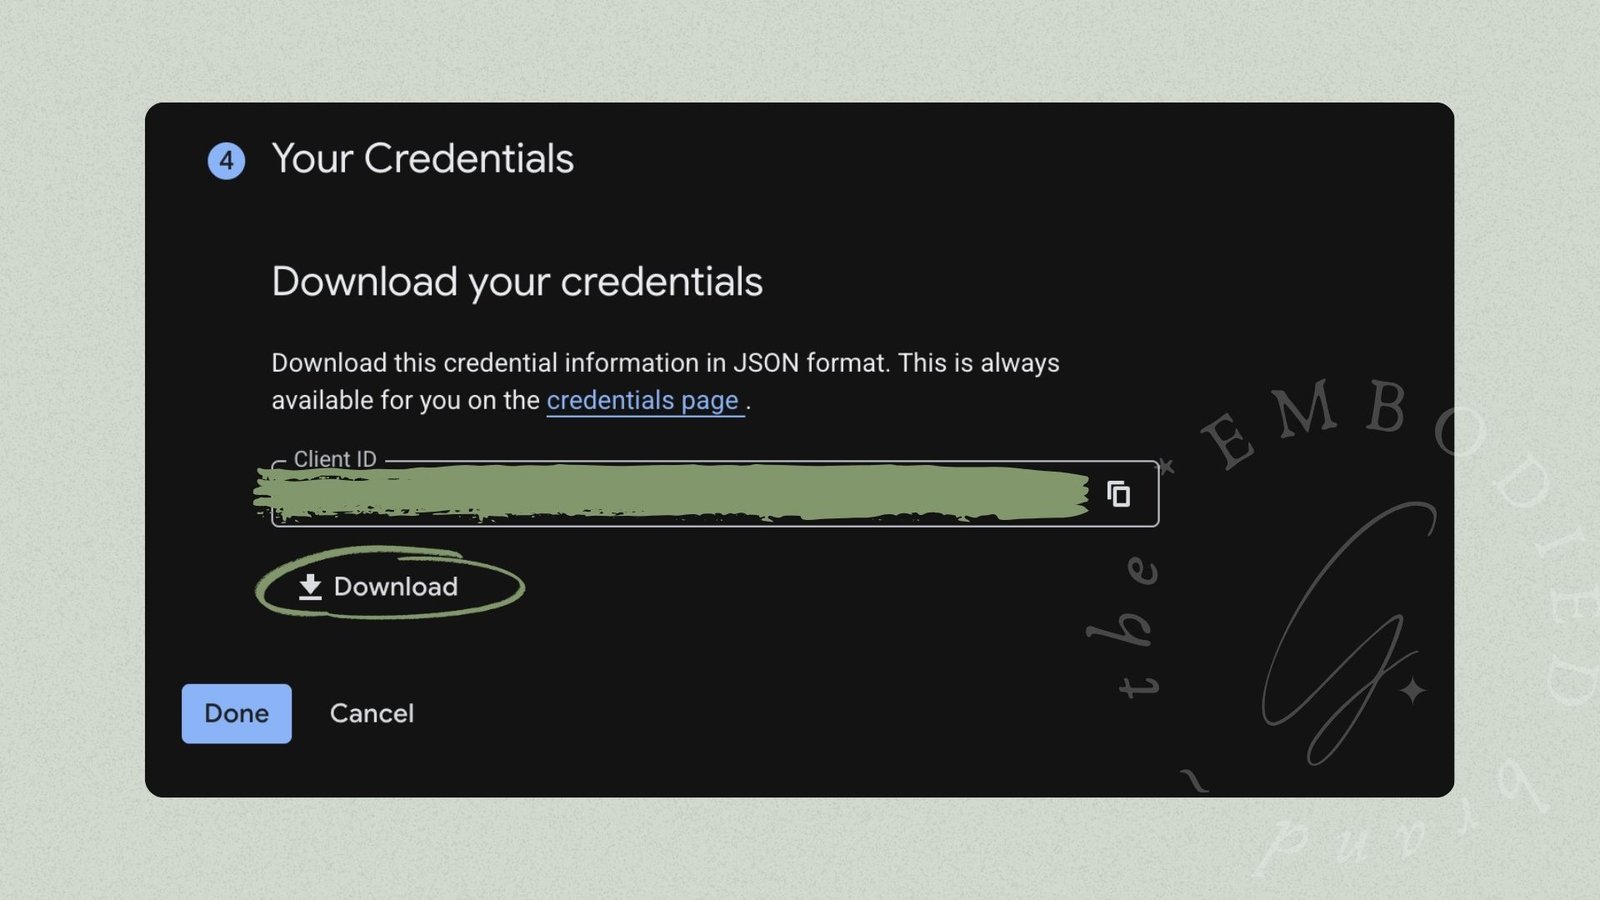
Yay! You’re more than halfway there, and have your first thing to save! This time, you’ll be able to get to it later too, but you might as well save your Client ID now as well, by copying it and saving it somewhere safe, or downloading the file directly. Then, click “done” at the bottom!
16 – Change from “Testing” to “Production”
You have your Client ID, but you’ve still got a few things to handle here. Next up, is changing your new app from “Testing” to “Production”. Basically, making it live, so that it doesn’t have a million limitations.
So, head over to “APIs & Services” and then “OAuth Consent Screen” (which you might recognize from earlier!)
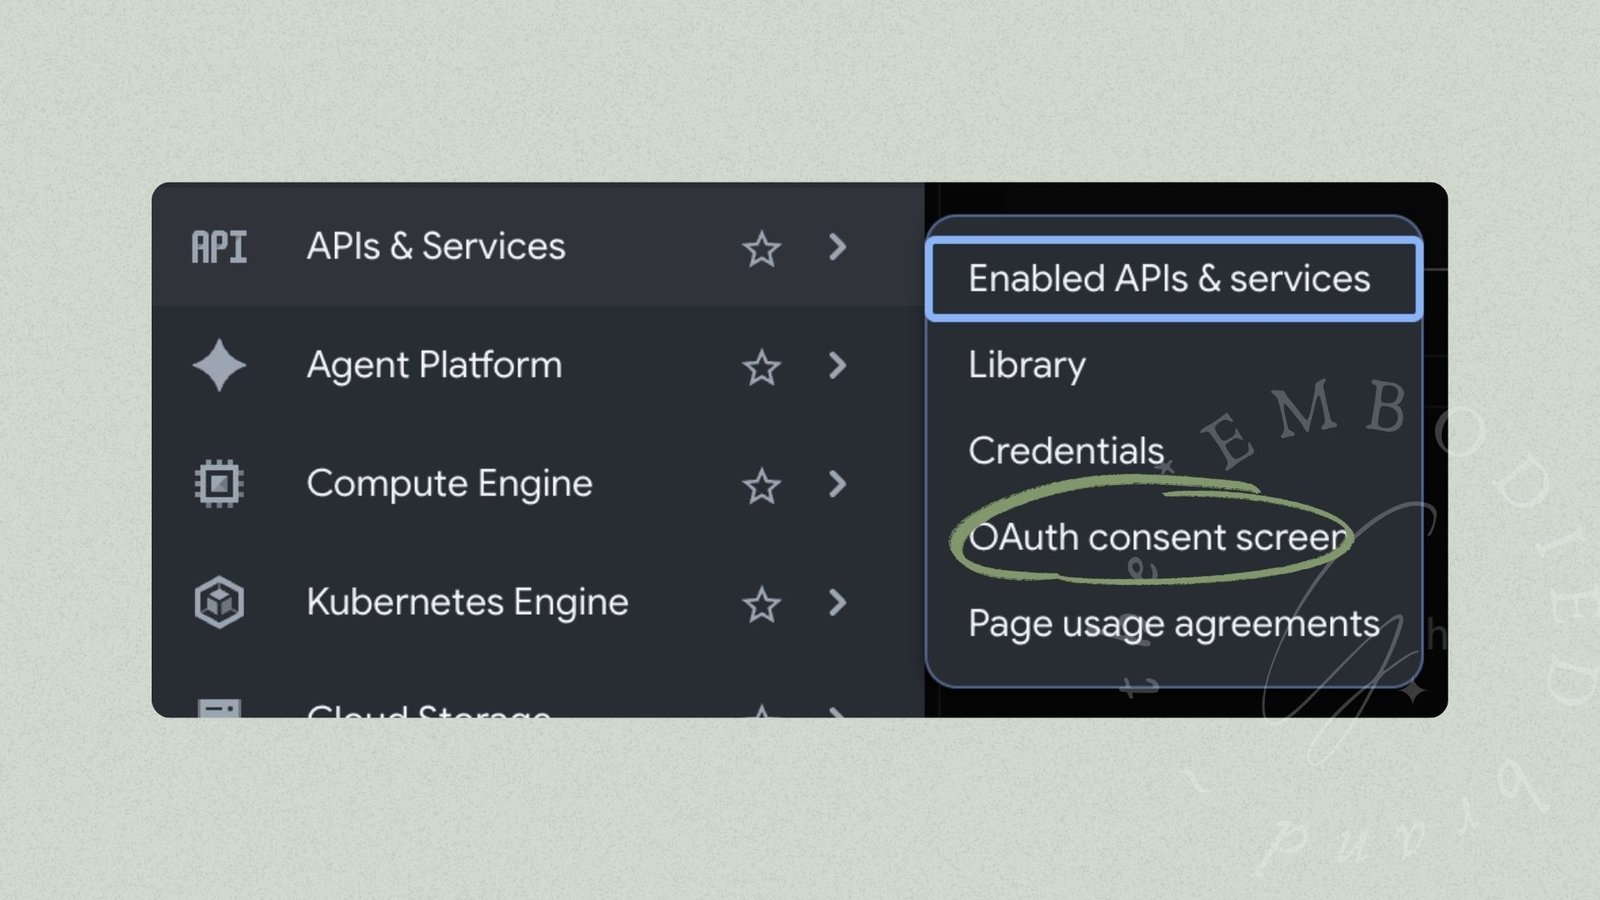
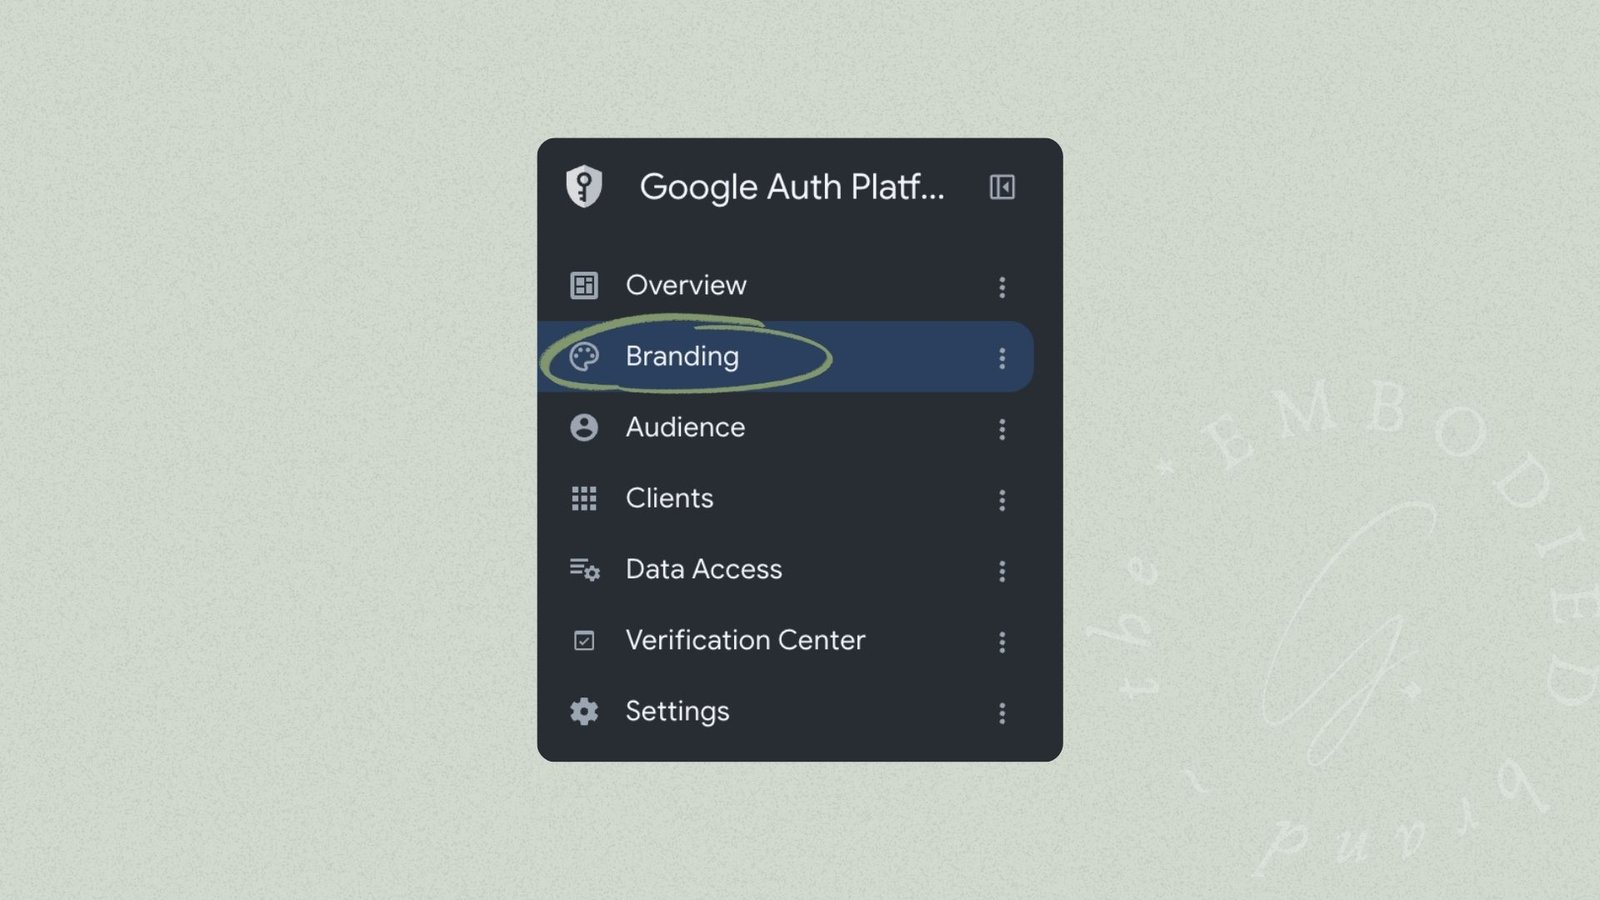
Then you’ll want to select the “Branding” tab in the lefthand sidebar.
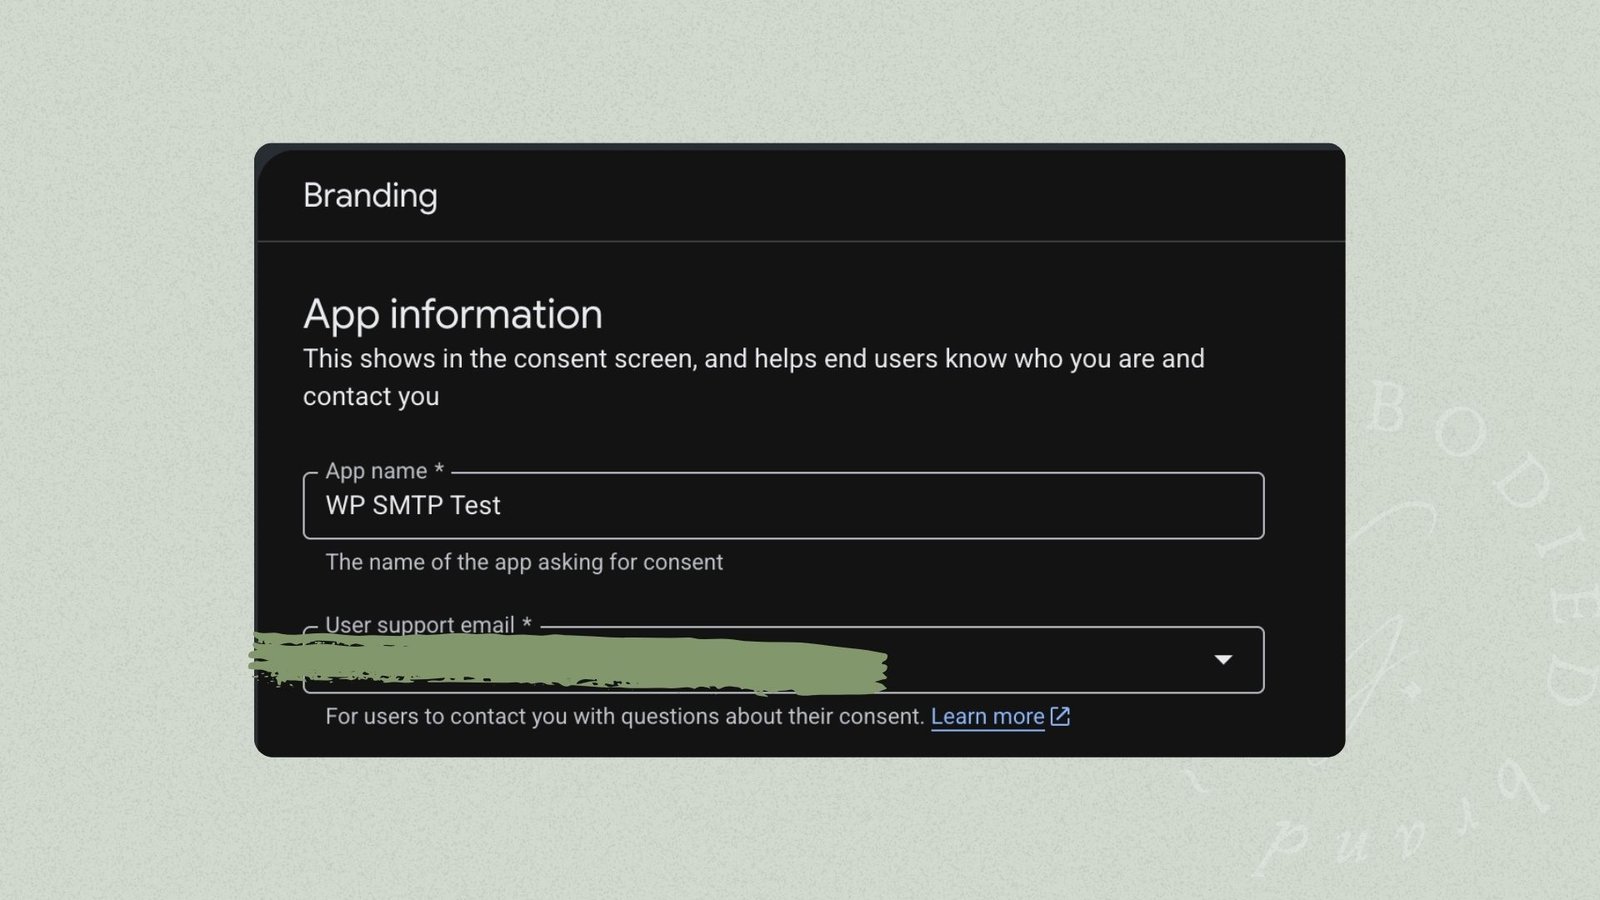
Once there, you’ll see the branding information for your app. Now, this doesn’t mean your app will be used by other people – but the system needs this data so that you can use it. And if you try to skip to making it public without these steps, it’ll reroute you back to them. So, enter your support email address in the “User Support Email” field.
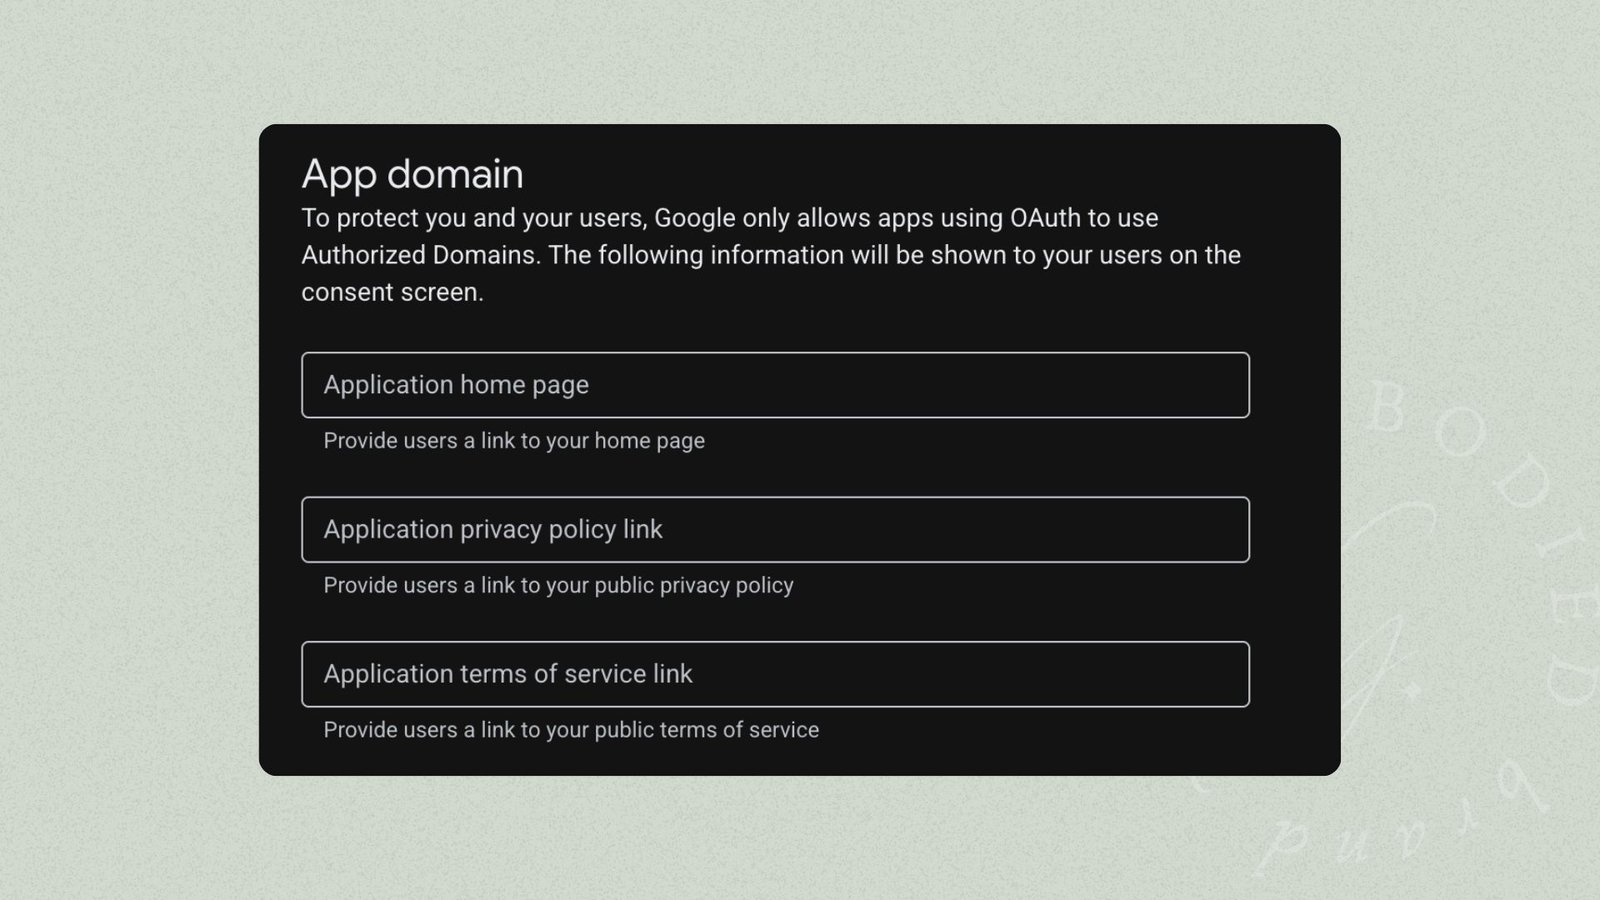
The “App Logo” section is next, and for our purposes today, you can skip that one! Move on to “App Domain” and add in your domain and privacy page, etc.
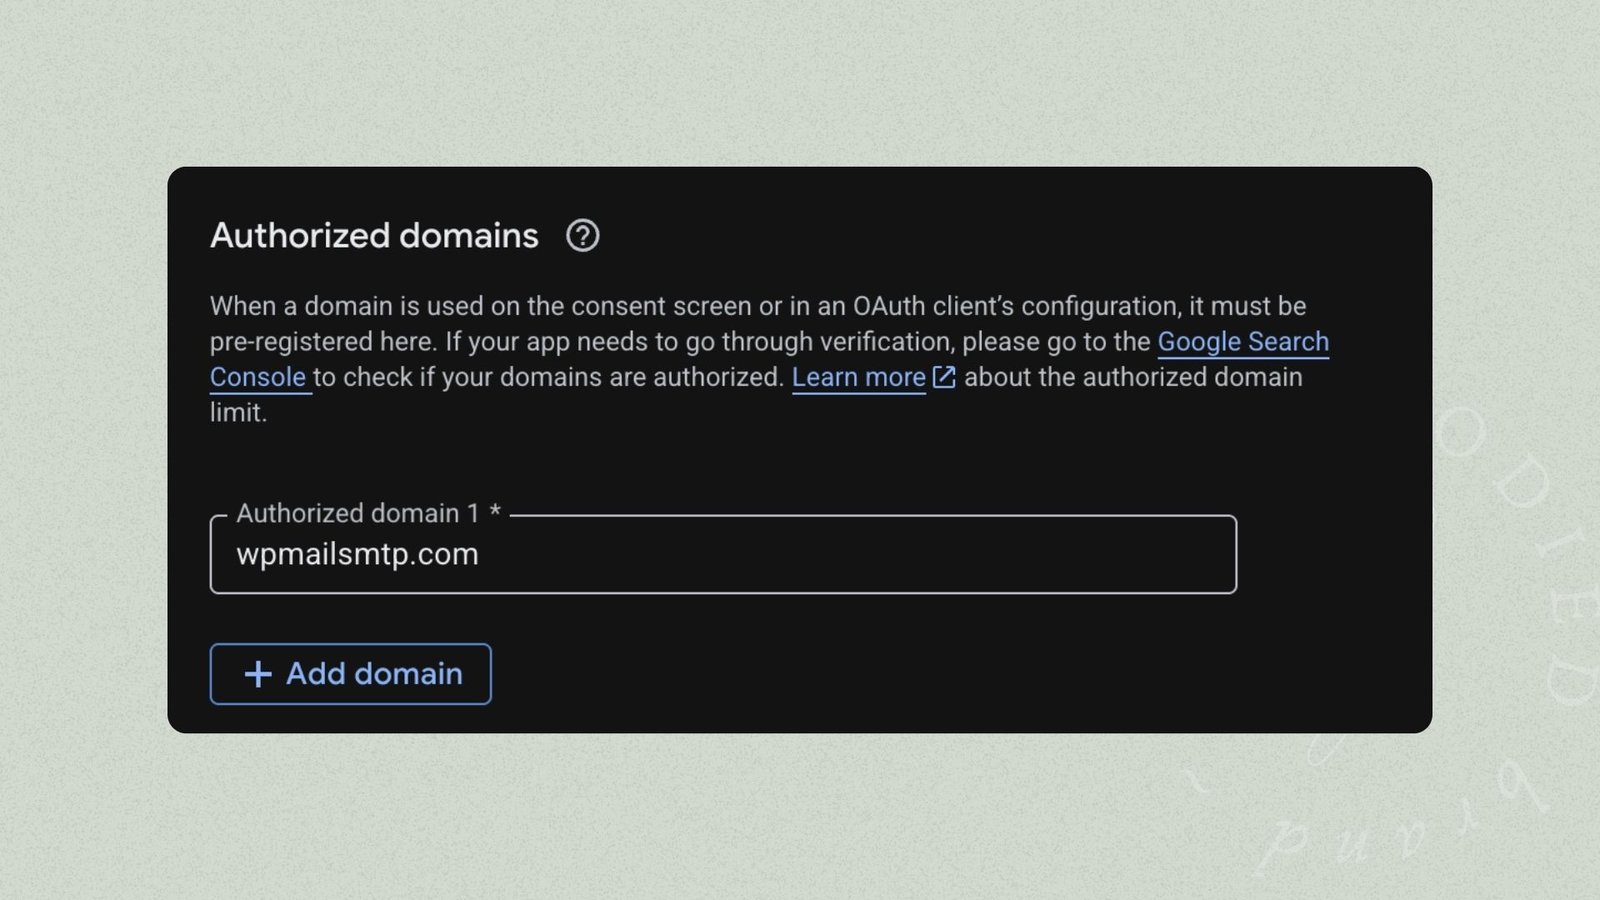
Finally, you’ll need to give it Authorized Domains, which should already have wpmailsmtp.com synced in from a previous setup step. If it doesn’t, add it! Then, you’ll also want to add your primary domain here, which it’ll likely prompt you for as long as you’ve already set up your app website and policy links above.
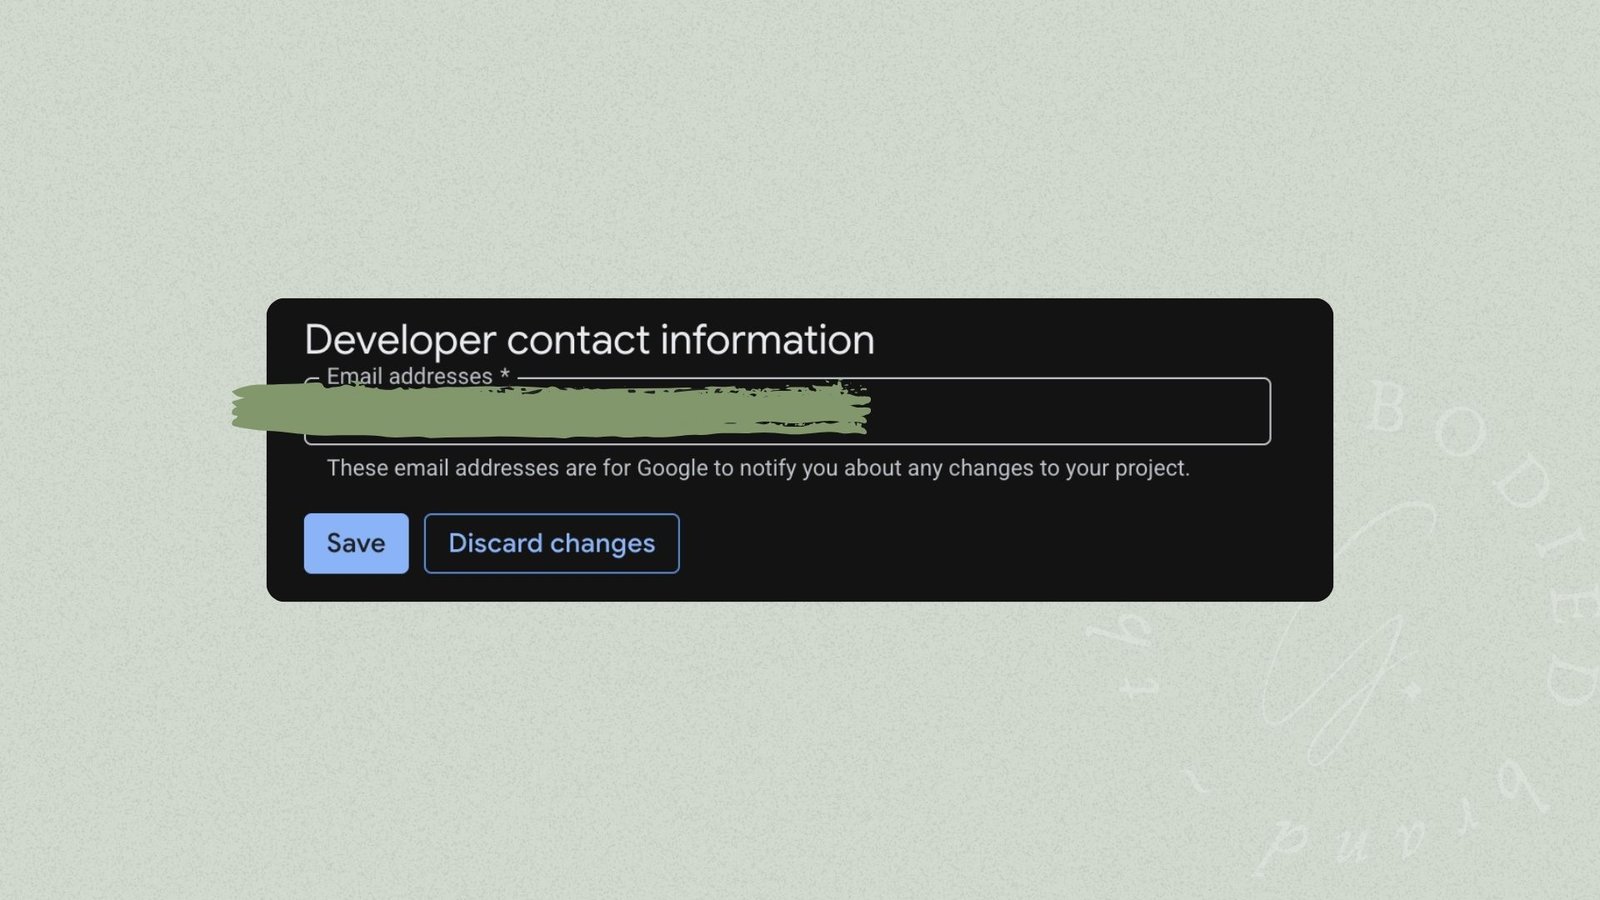
The last step in the branding section is adding your email address from the Developer dropdown at the bottom, which it may have already autofilled. Once that’s done, you can click “Save” and move on to the next step!!
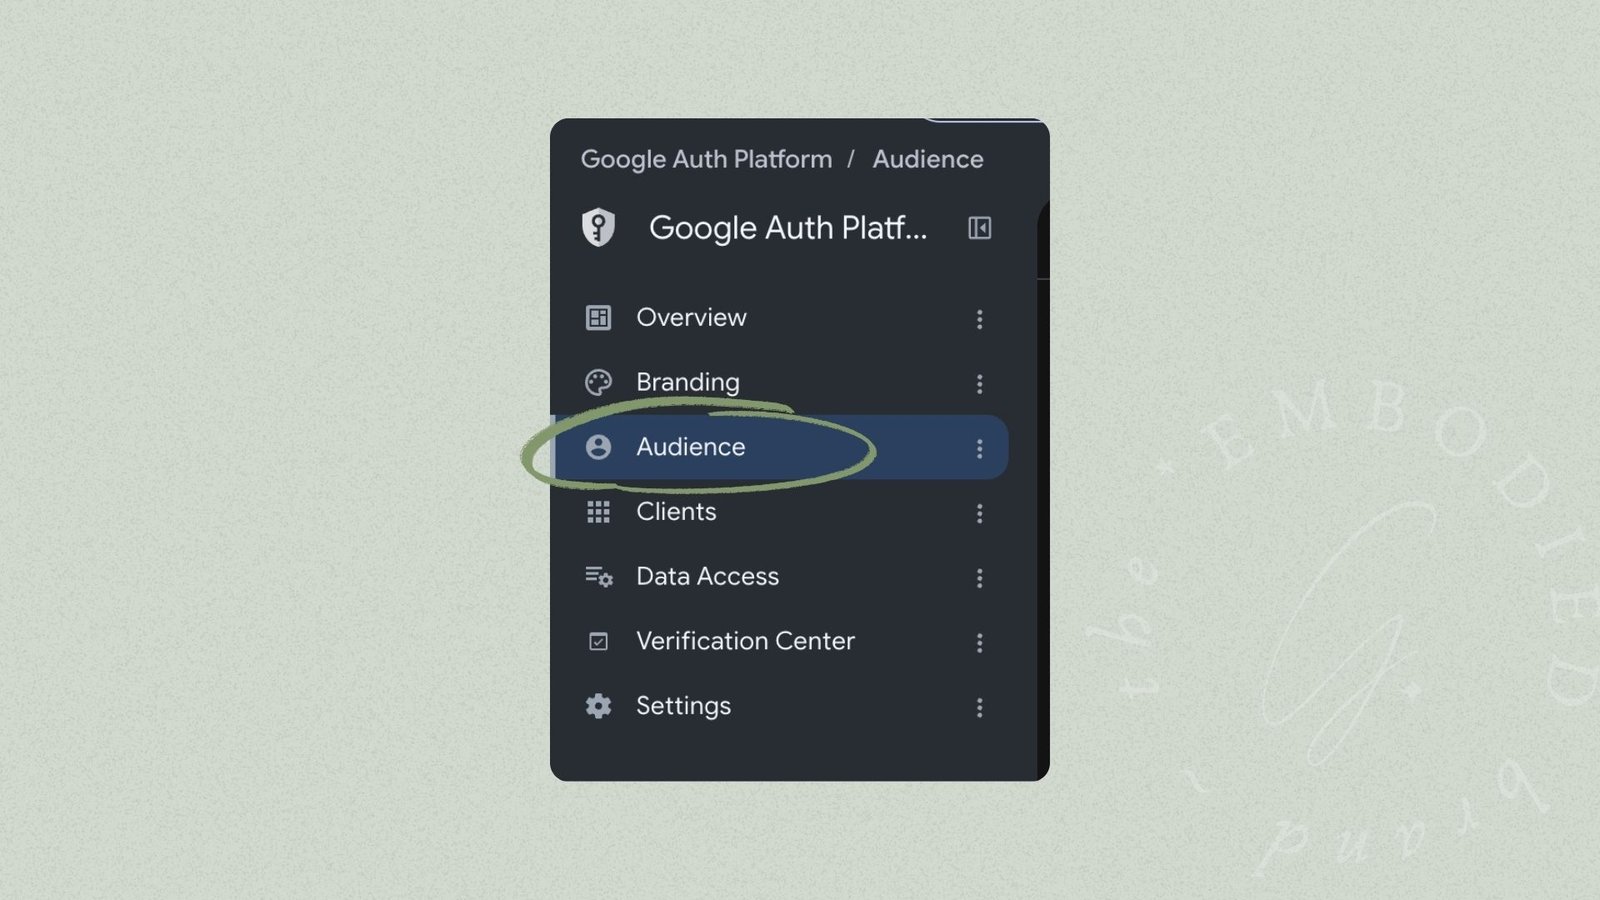
Once you’ve saved your App’s branding details, it’s time to head to the “Audience” tab, still staying under that OAuth Consent Screen section.
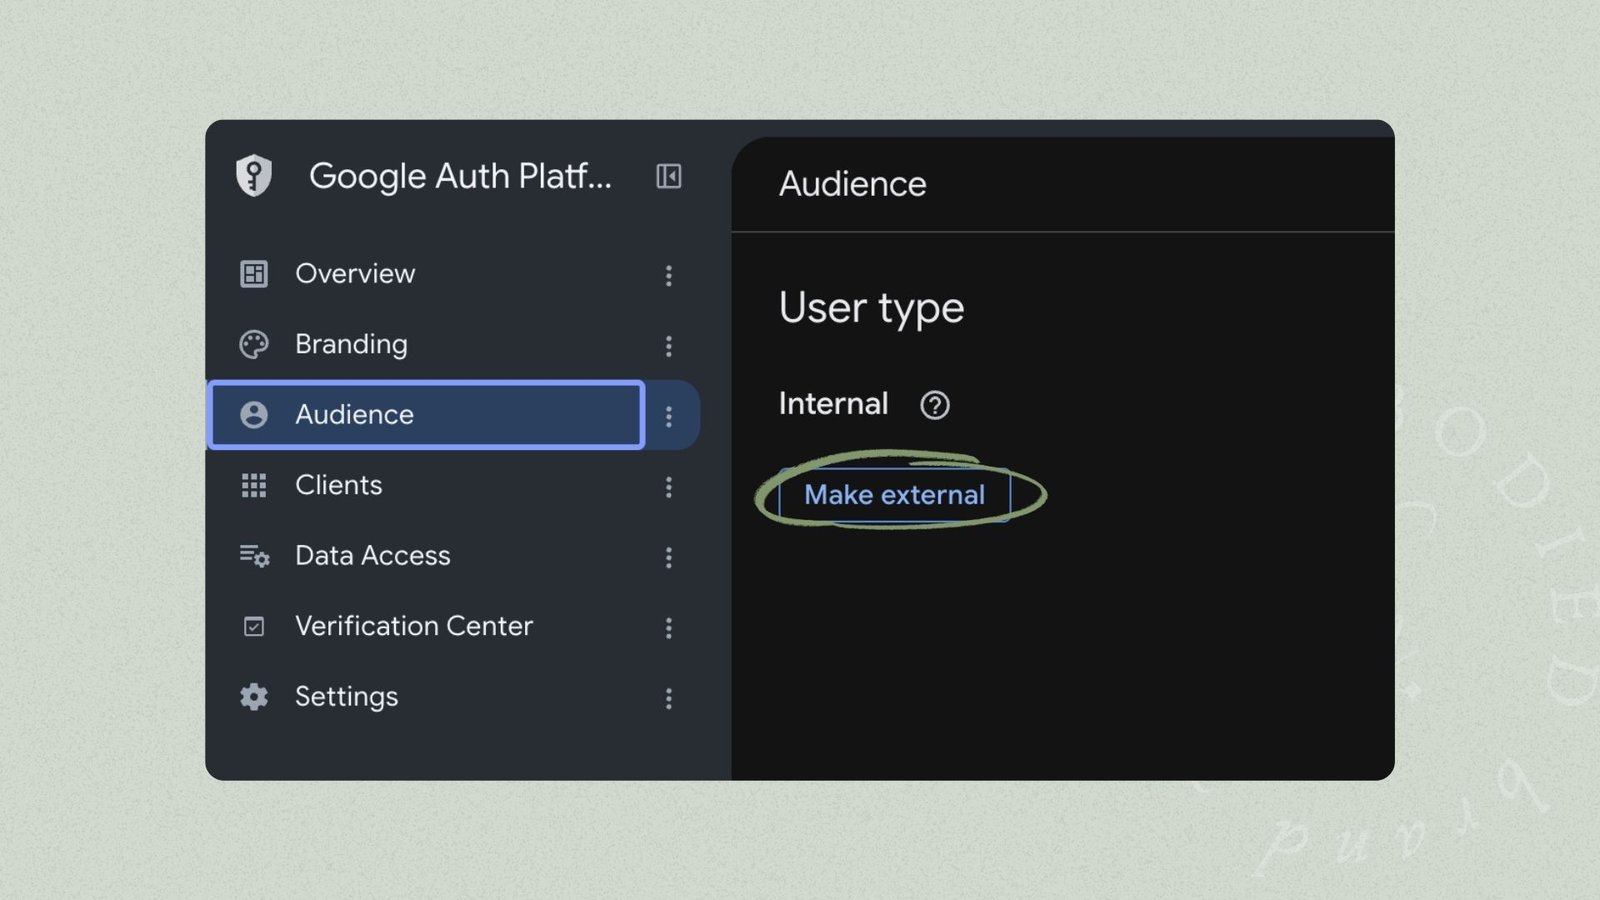
Then, you’ll be taken to a page that somewhat resembles what’s below. You’ll want to click “Make External” or the equivalent button, if your view is slightly different!
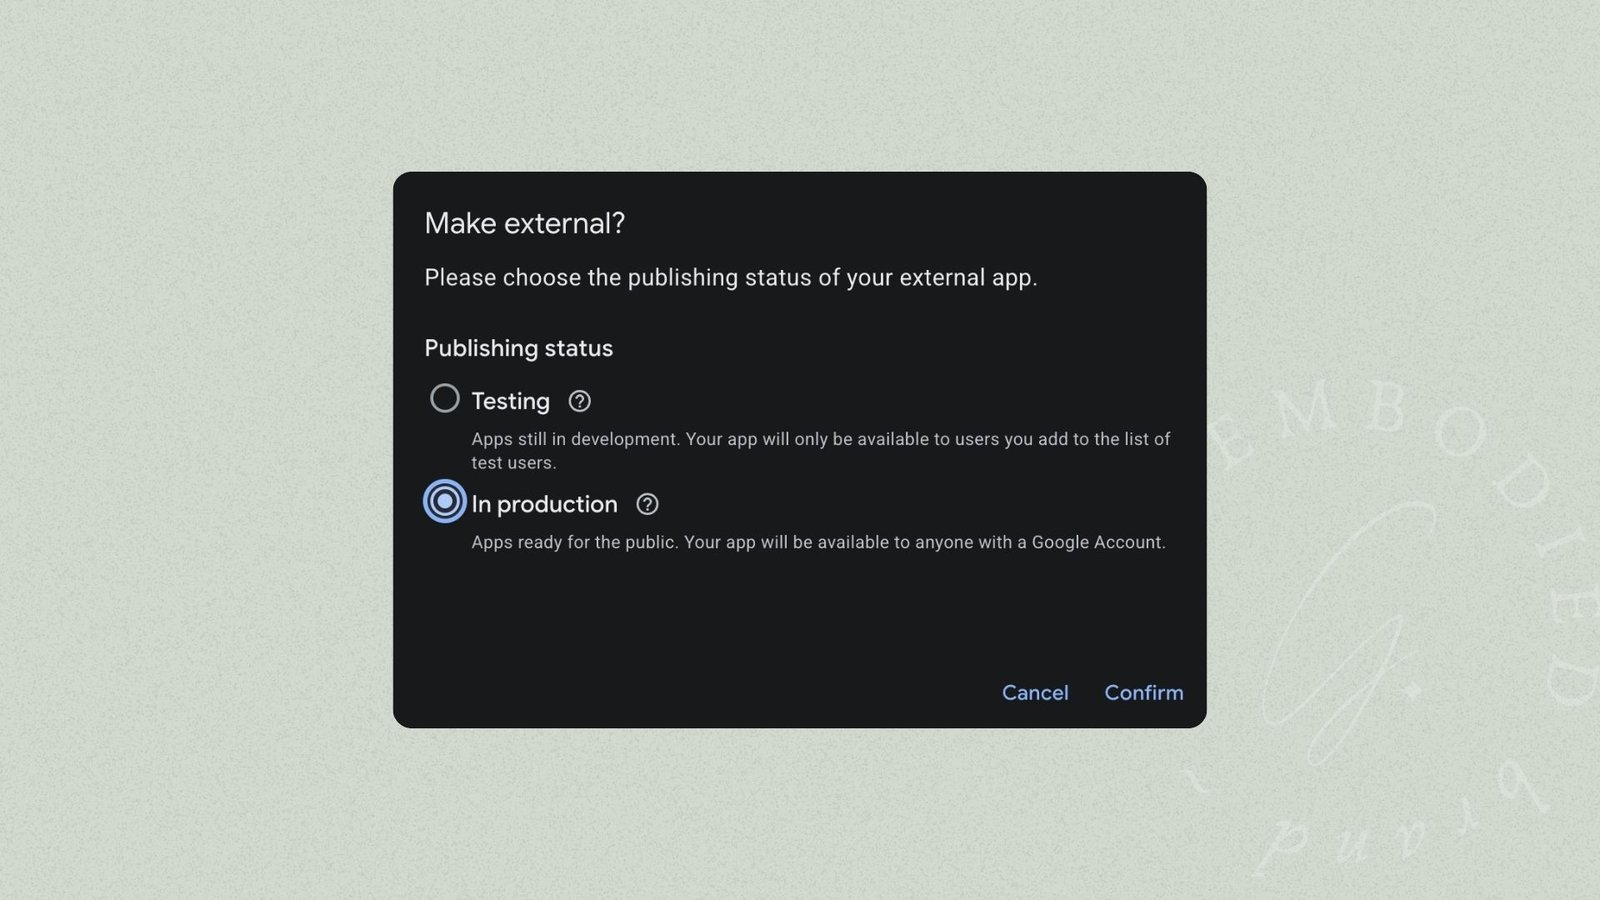
It’ll pop up a dialogue box, which should look a little like this. If you’ve not entered everything into the branding section, it’ll direct you back there. But as long as you have, you should be able to select “In Production” and then “confirm”.
17 – Getting your actual credentials
So you’ve made your app, and sent it live – which means now it’s time to give your actual website its appropriate permissions! AKA, add your credentials into the plugin we’re using.
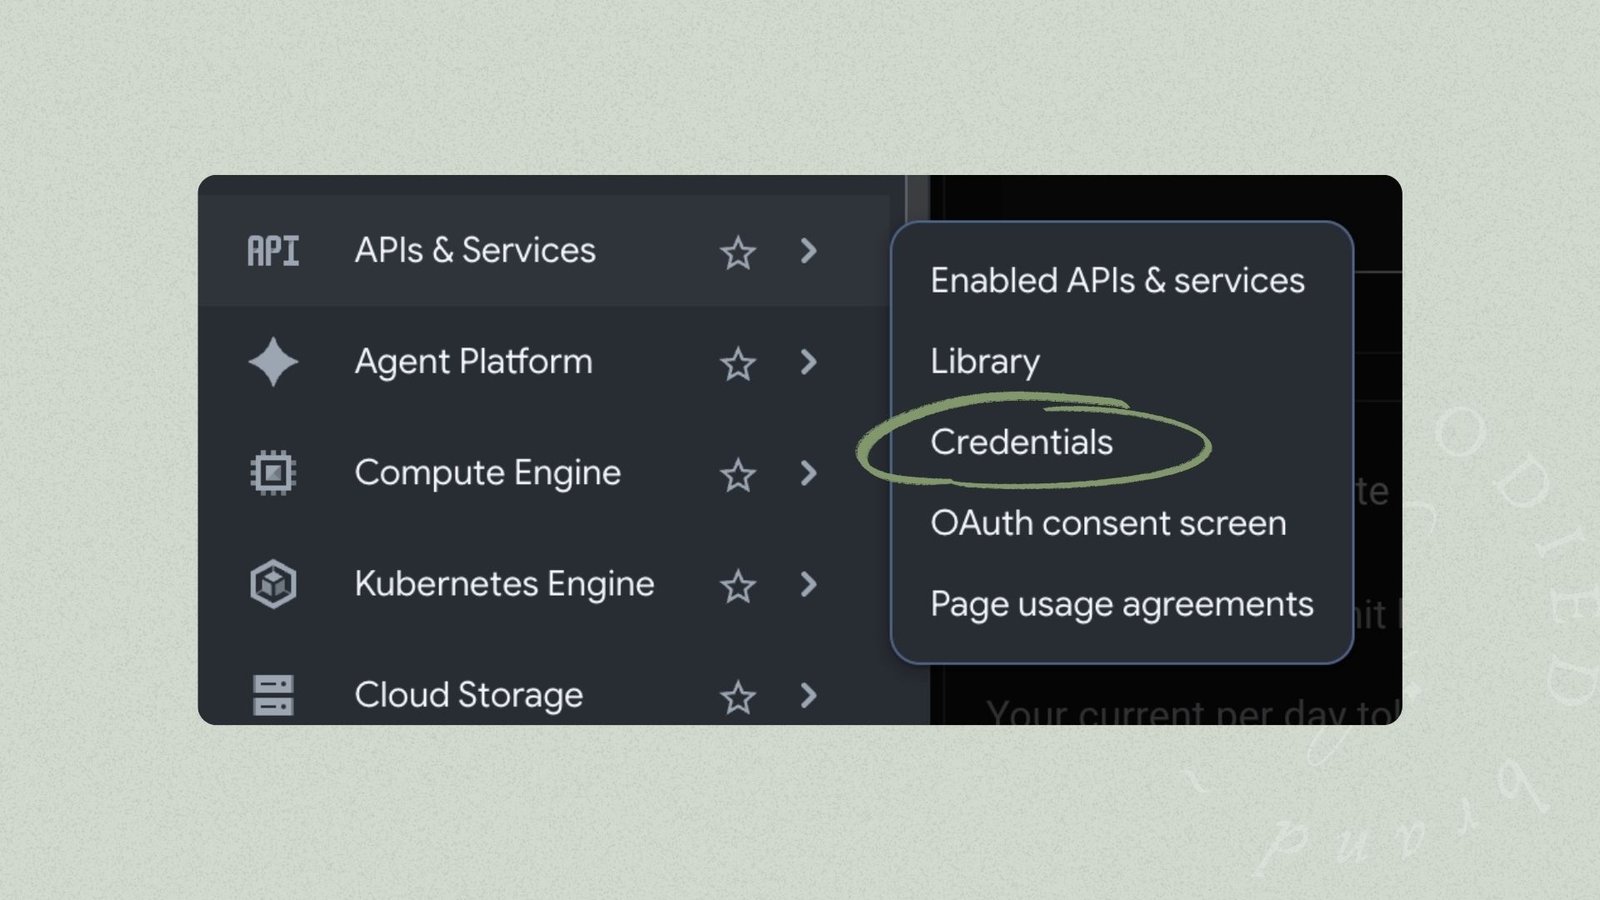
So next up, you’ll head over to “APIs & Services” again, and select “Credentials”.
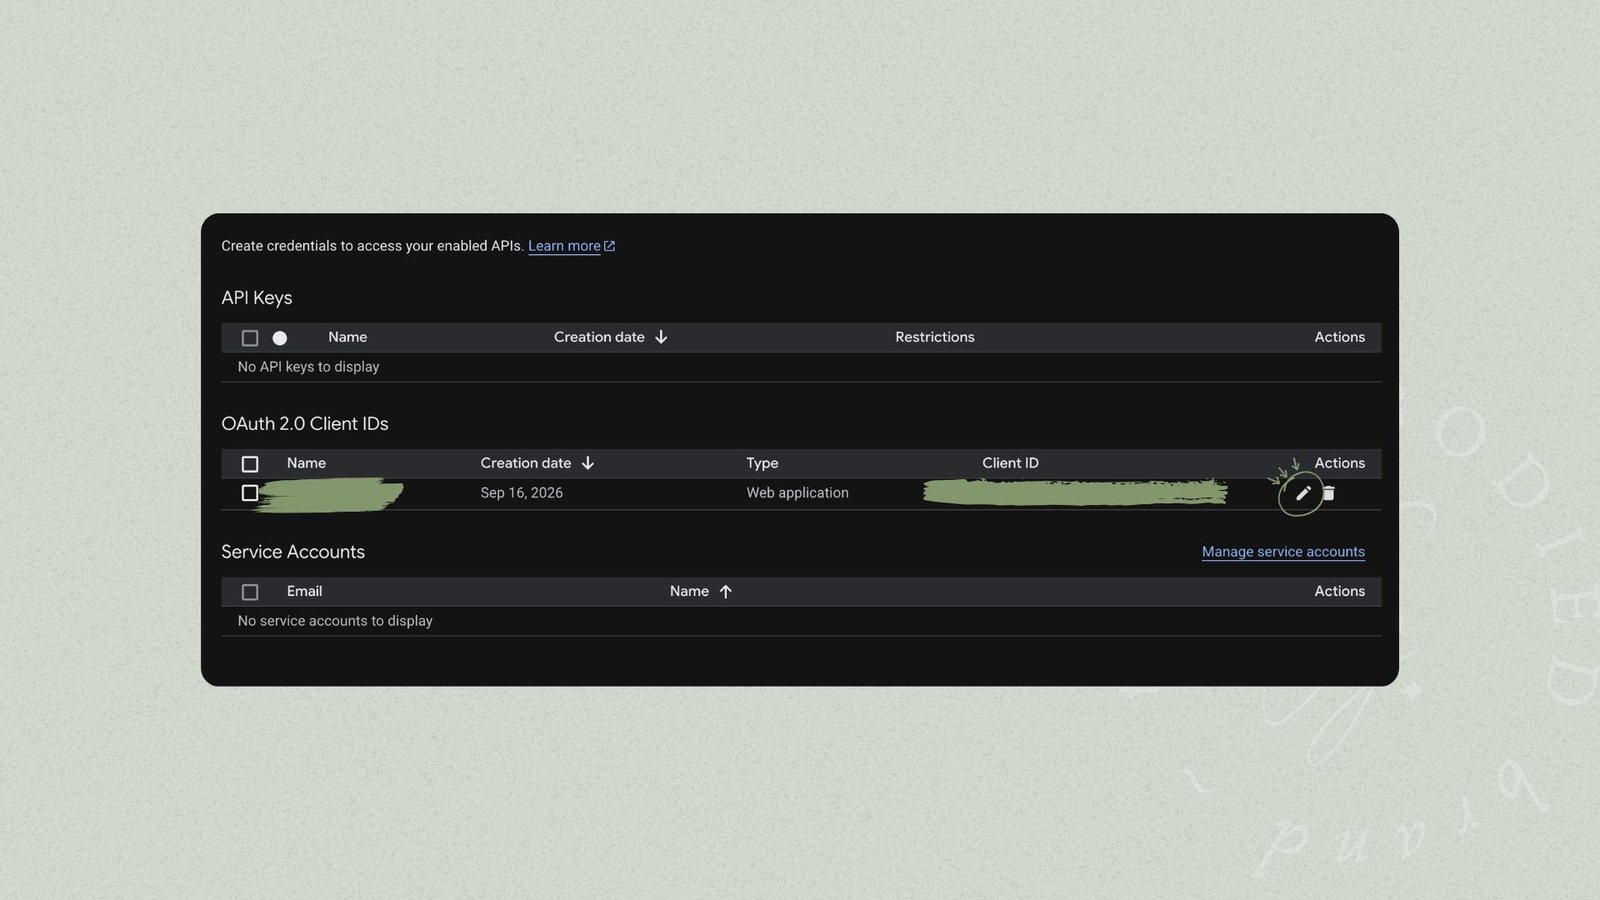
Once that opens up, check under the OAuth 2.0 Client IDs section. You’ll see the details of your new app. To view the Client ID and Client Secret, click the “edit” option, which looks like a little pencil.
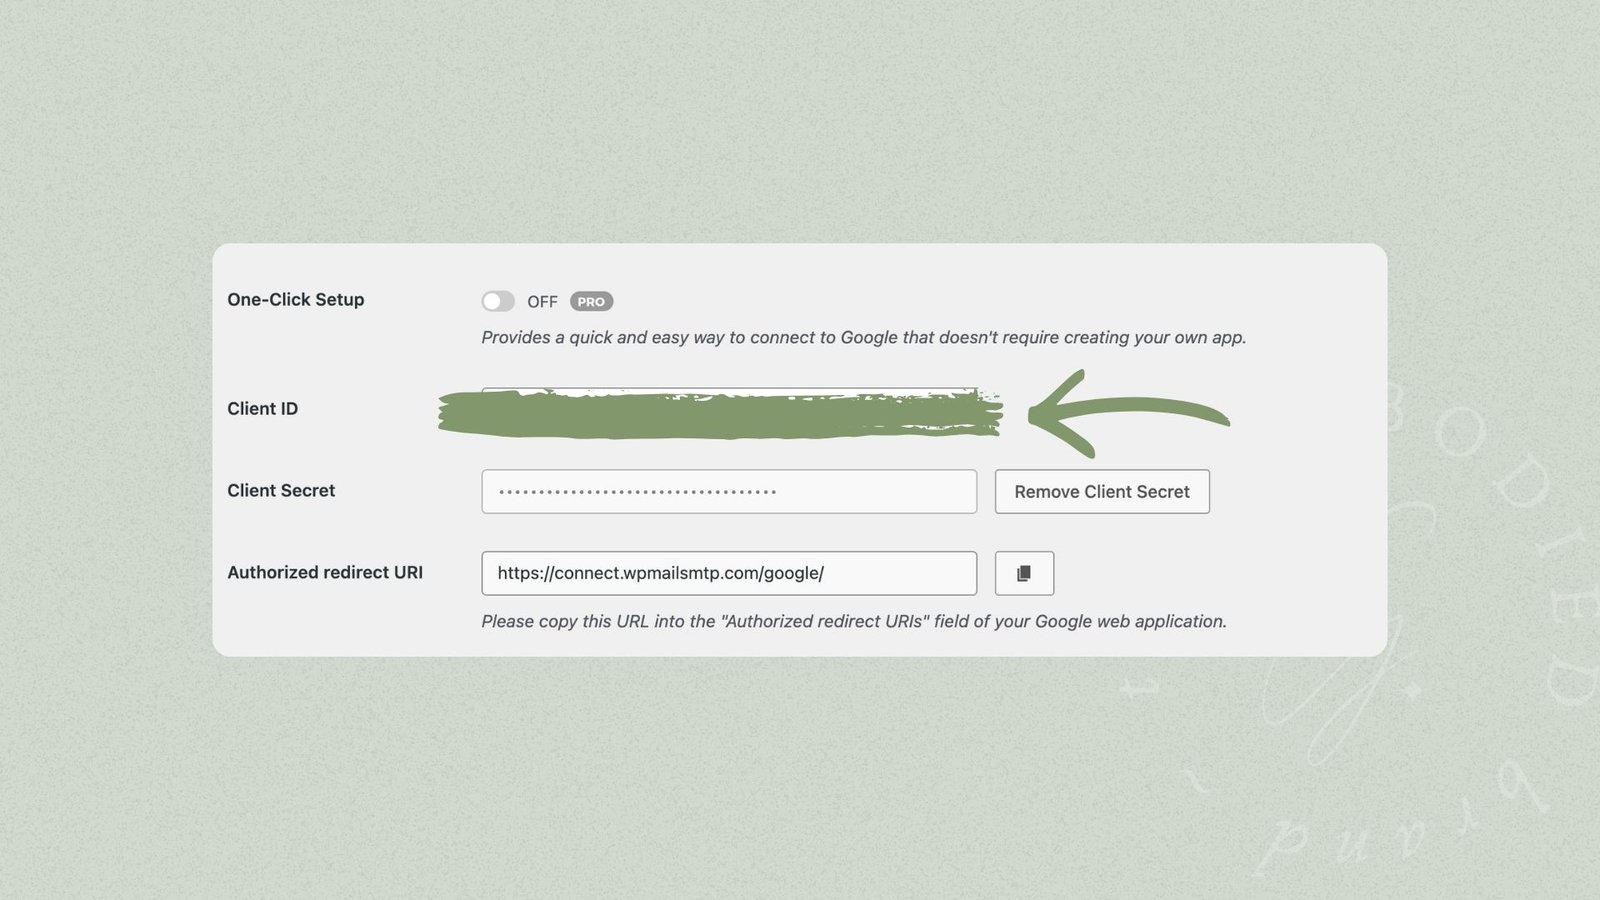
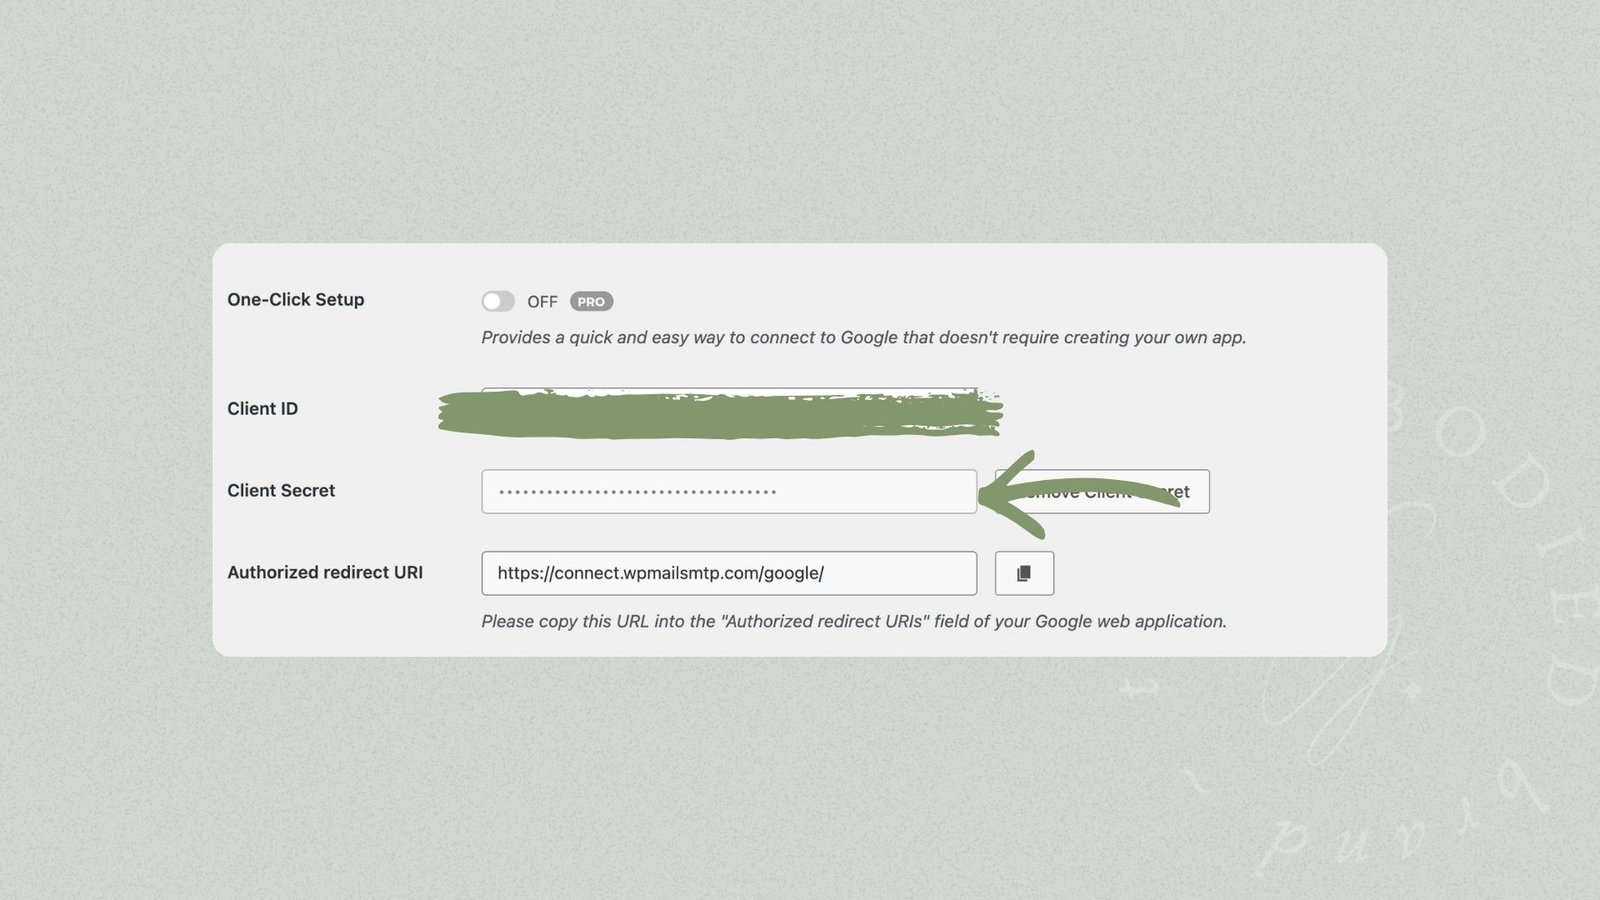
You’ll be taken to a details page, where you can grab your Client ID, which can be seen under the “Additional Information” section. Either paste this directly into the “Client ID” area in the WP Mail SMTP settings that it feels like we were on ages ago, or save it in a note for yourself to come back to WP Mail SMTP momentarily.
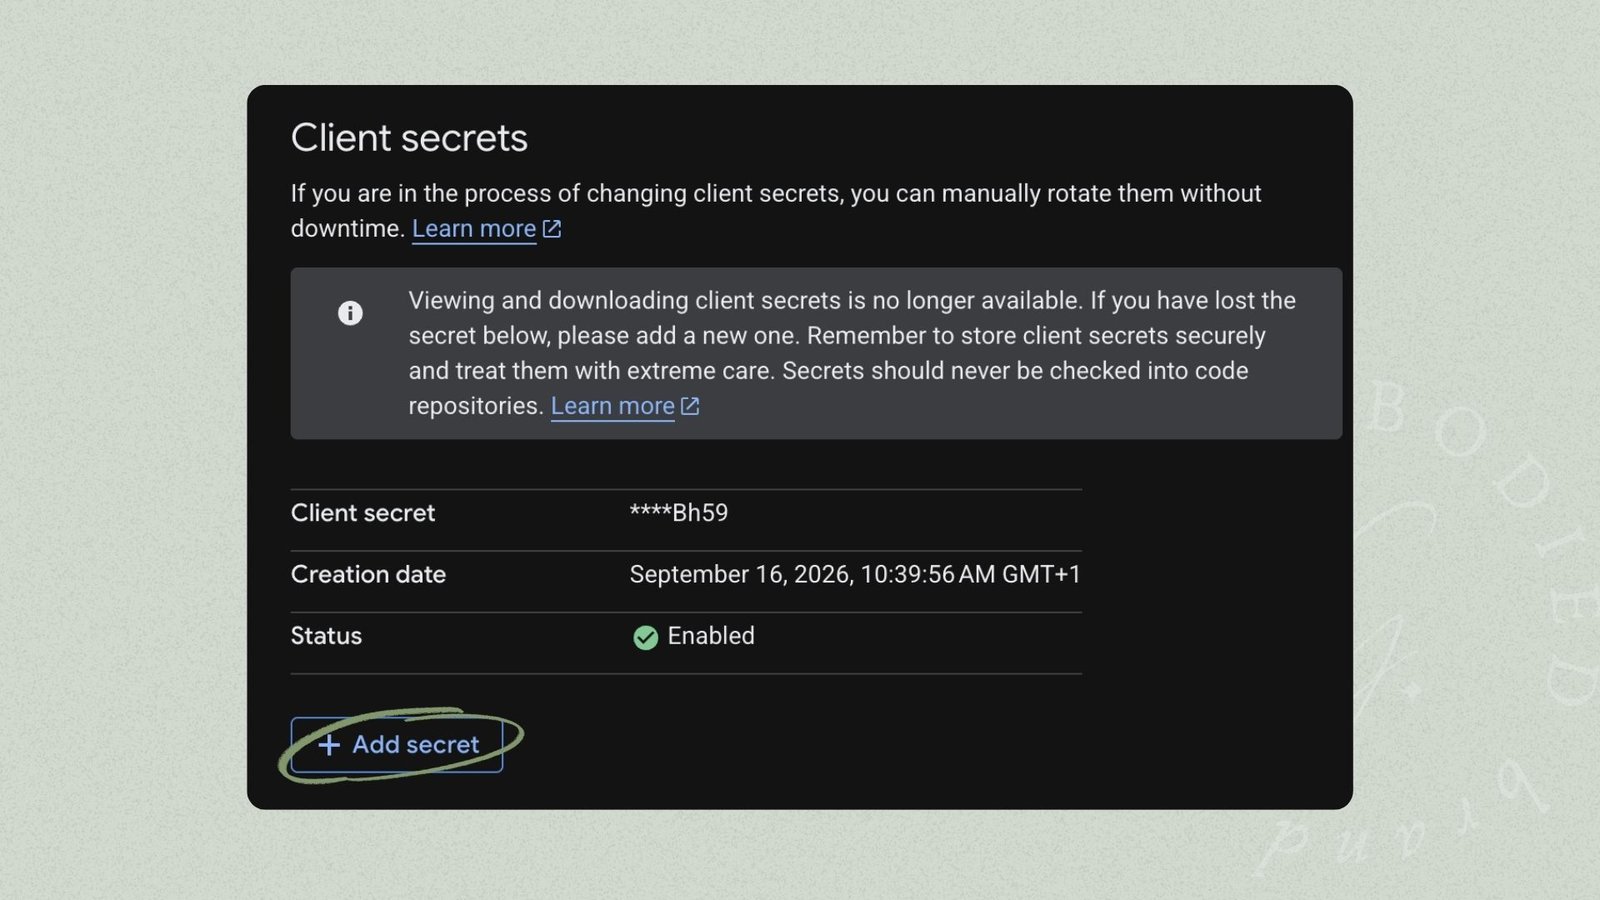
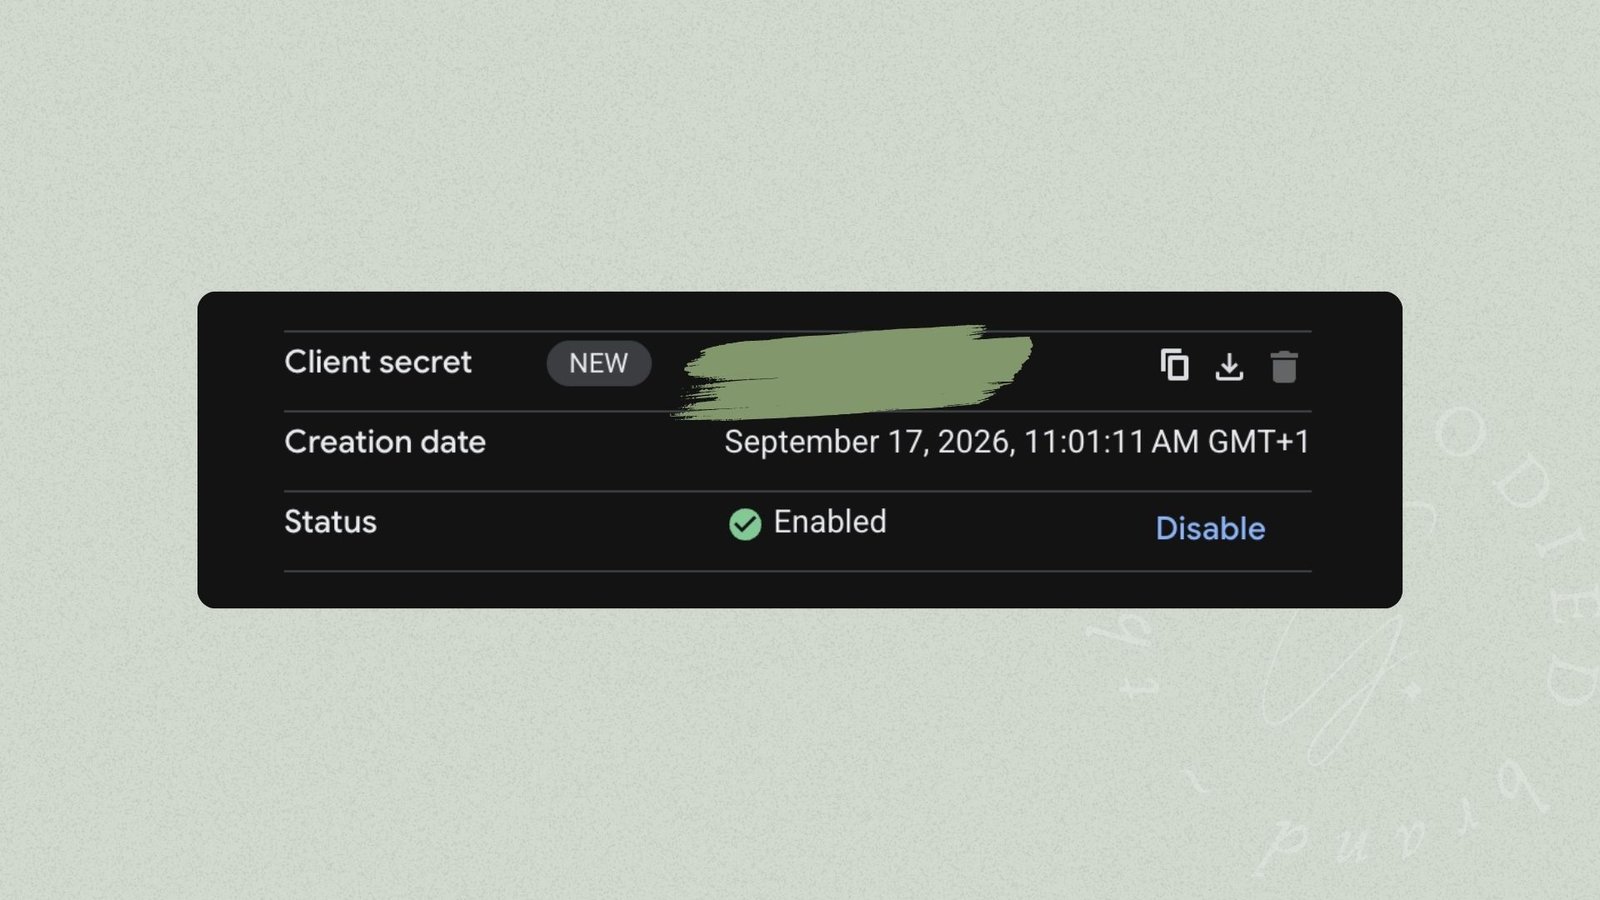
Then, below the “Additional Information” area, you’ll see “Client Secrets”. There will likely already be one there, that you can’t view. Don’t worry, we’re going to make a new one! I recommend deleting the previous one, so that the only active Client Secret is the one you’re copying to place in WP Mail SMTP. As you can see from the warning in this screenshot, Google agrees! Once you’ve got your new Client Secret, pop that into WP Mail SMTP too, in the “Client Secret” field.
18 – Authorize Google, and Save Your settings!
Once your Client ID and Secret are added, you can scroll down, and click “Save”. The page will then refresh, and have a new button for you to click, under “Authorization”. You’ll need to give the plugin permission to send from your Google account. Once you click “Allow plugin to send emails using your Google account” it’ll take you to a standard, recognizable Google authorization screen, which you’ll want to log into and select “allow” as normal for these permissions processes (using the account you’ve been using this whole time).
19 – Send another test!
Now, it’s time to send another test email, because you’ve been through all of the overarching steps! So we’ve got to see whether your setup worked. That means you need to head over to the Test Email area in WP Mail SMTP, which is under “WP Mail SMTP > Tools” in your lefthand WordPress sidebar, and send an email!
20 – Celebrate, or troubleshoot
If you got your test email, and there are no errors in WP Mail Logging, then good news! You did it, and it’s functional. Woo!!
If you didn’t… it’s time to troubleshoot. Check out the WP Mail Logging plugin records and see whether there’s anything funky in the error message for your latest test email. There are a variety of hiccups you might run into in this process, many of which are described over on the WP Mail SMTP documents in detail. One of their descriptions might help solve your problem!
But for most, just adding SMTP using these steps will get your emails deliverable, and sending. If not… it might be time for SPF, DKIM, or dmarc record changes! But those are tutorials for another day.
Hope this has helped, and happy designing!













0 Comments