Want to add new fonts on your mac?
But can’t find where to put them?
I run into this question all the time. You’ve purchased or downloaded new fonts… but like, how do you add them once you have them??
First step, it’s important to make sure that you have the proper licensing for the font you’ve purchased. There are TONS of fonts that are available for free, with commercial use approved. You can get them on a variety of sites, but you want to make sure that you’ve read the site’s licensing agreements.
If you’ve purchased a font from a creative, or a creative marketplace, then you want to make sure that you check in with their licensing as well, before you start using the fonts you’re downloading for desktop projects.
As long as you have the proper licensing for what you’re about to use the fonts for… then it’s time to add them to your library!
On a mac, adding fonts is simple.
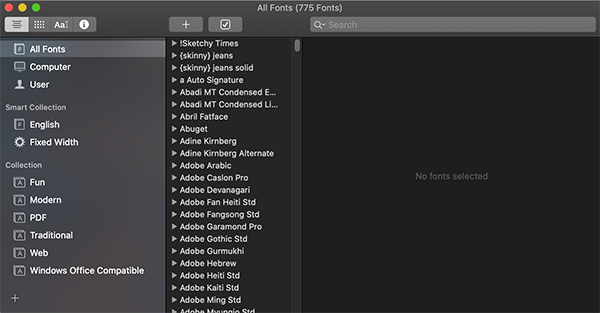
- Open Fontbook in your applications (you can get to it easily by using a spotlight search for “Fontbook,” by typing “command + spacebar” and then entering “Fontbook” into the sporlight searchbar.
- Select the .otf or .ttf file for the font you’d like to add. Unless you’ve already moved it, it’s likely in your downloads folder from downloading the font when you purchased it!
- Drag and drop the .ttf or .otf file in question into the font list in Fontbook.
And… that’s it!
If you’re looking to use the new font in a specific application, you may need to restart the application, or your computer in order for the font to become available. Then, it should be available in your list for your use moving forward!


0 Comments