Custom SVGs in Canva are SO useful!
There are a TON of things already in the Canva library for you to use – many of them designed by Canva Creators like me! Sometimes, the library can solve all of your problems. But other times, like when you’re hoping to use custom created assets included in a client’s brand package, for example… you want to have something more unique.
It’s Easy to Export them from Adobe Illustrator
Luckily, it’s actually SUPER easy to use vector format files you’ve created within Adobe Illustrator for your own recolourable items in Canva designs. There are just a few tiny details you have to keep in mind when you’re exporting your designs for use, and as long as they’re addressed… you will be able to recolour your designs endlessly, and provide your clients with SVGs in some cases instead of PNGS if they’ve selected to receive illustrations in their brand package! This helps make the design process easier, and also simplifies the asset delivery process. It’s a win-win!
1 – Create your art
Obviously the first step will be to create whatever vector art you want to use in Canva – whether this involves sketching something in Procreate, sending it to Adobe Illustrator, and vectorizing the output, or it means drawing vector art in Fresco and sending that over… or creating the vector art straight in Illustrator!
2 – Simplify your Layers
Once you have your design (or designs!) you want to make sure all of your layers are simplified. If there’s text involved, outline it. If there are multiple shapes with the same colour applied, merge these into a complex path. As a note, you’ll want to use five or fewer colours, because that’s currently (summer 2025) the max number of colours that can be detected and replaced in an SVG upload on Canva.
3 – Select Export Settings
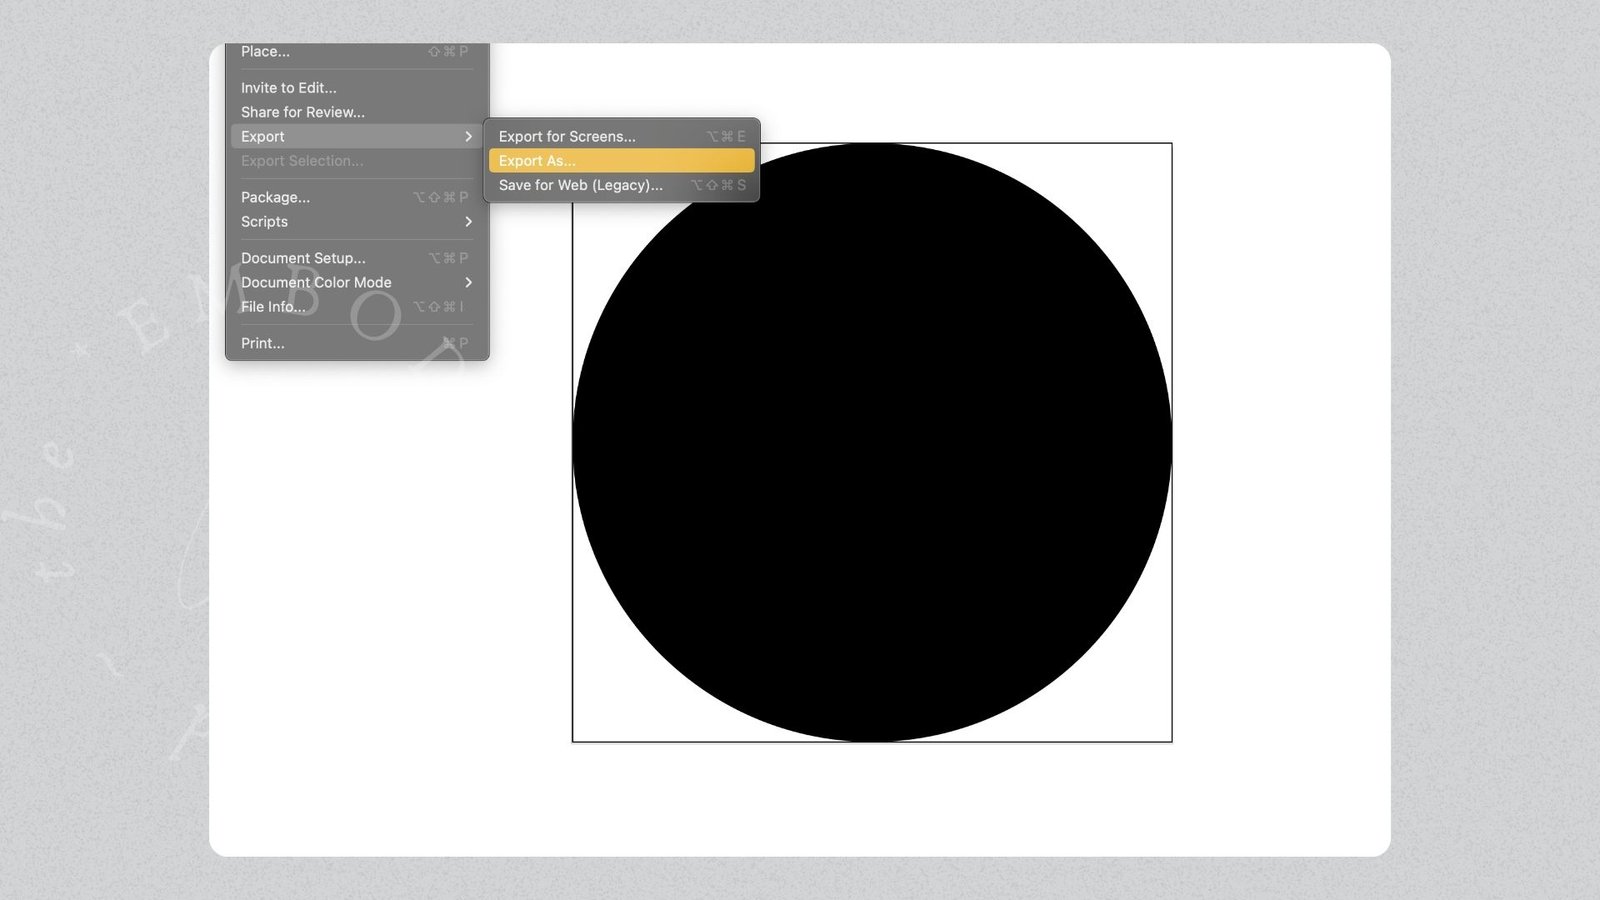
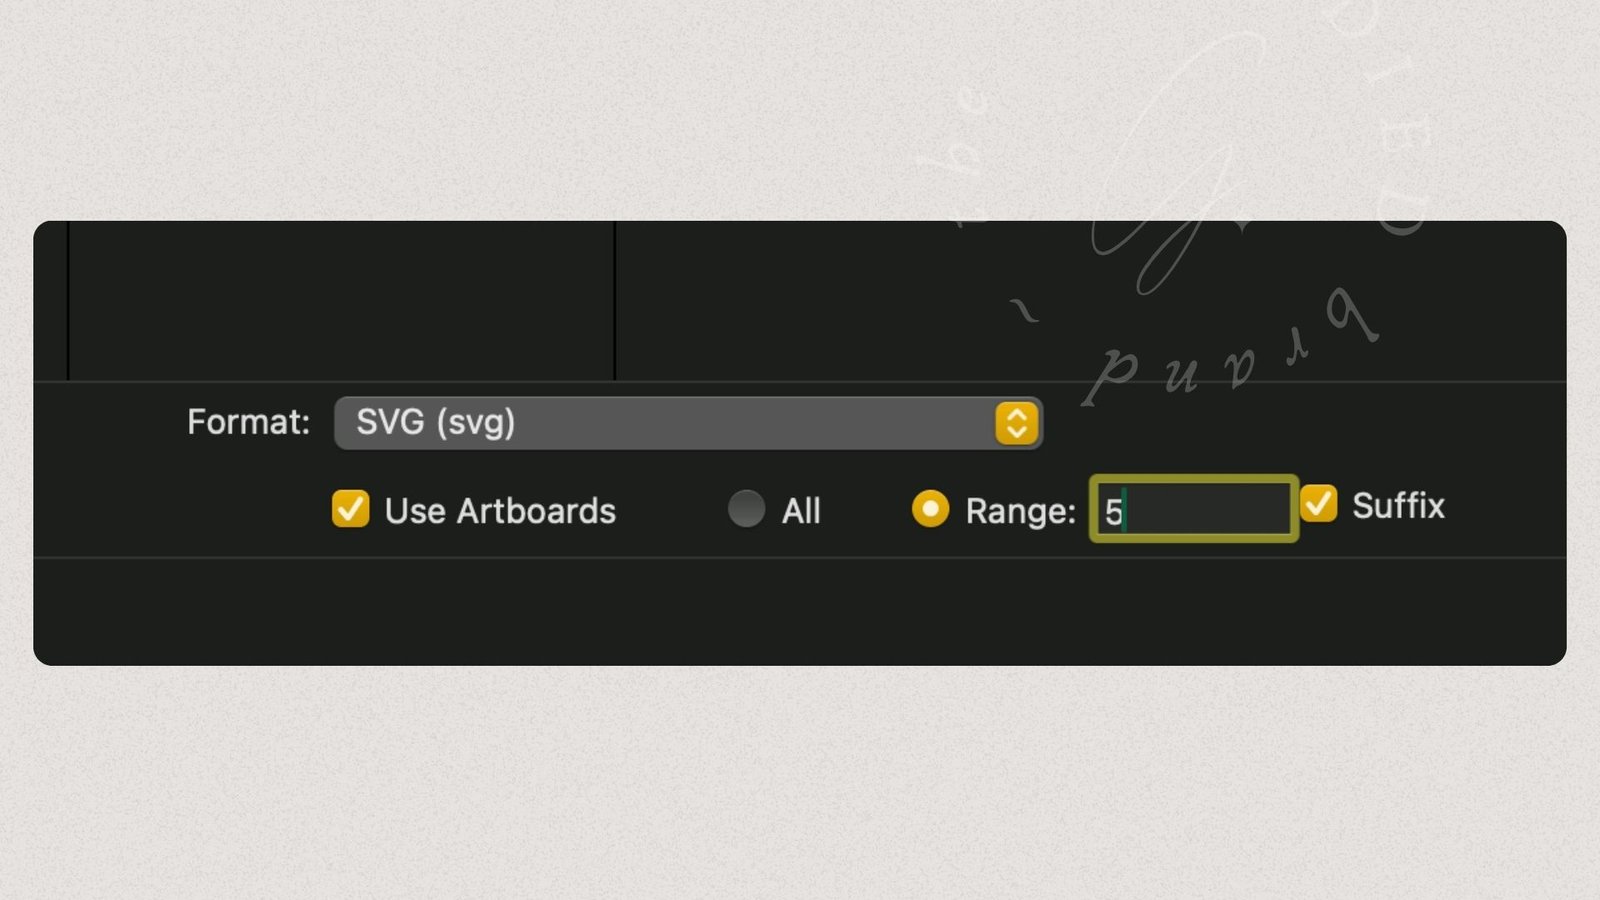
To export your art, I recommend placing each asset onto its own artboard, and noting the artboard numbers. Then, you’ll select “file > export > export as…”. Select “SVG” in the file format dropdown, and enter the range of the artboards containing your designs.
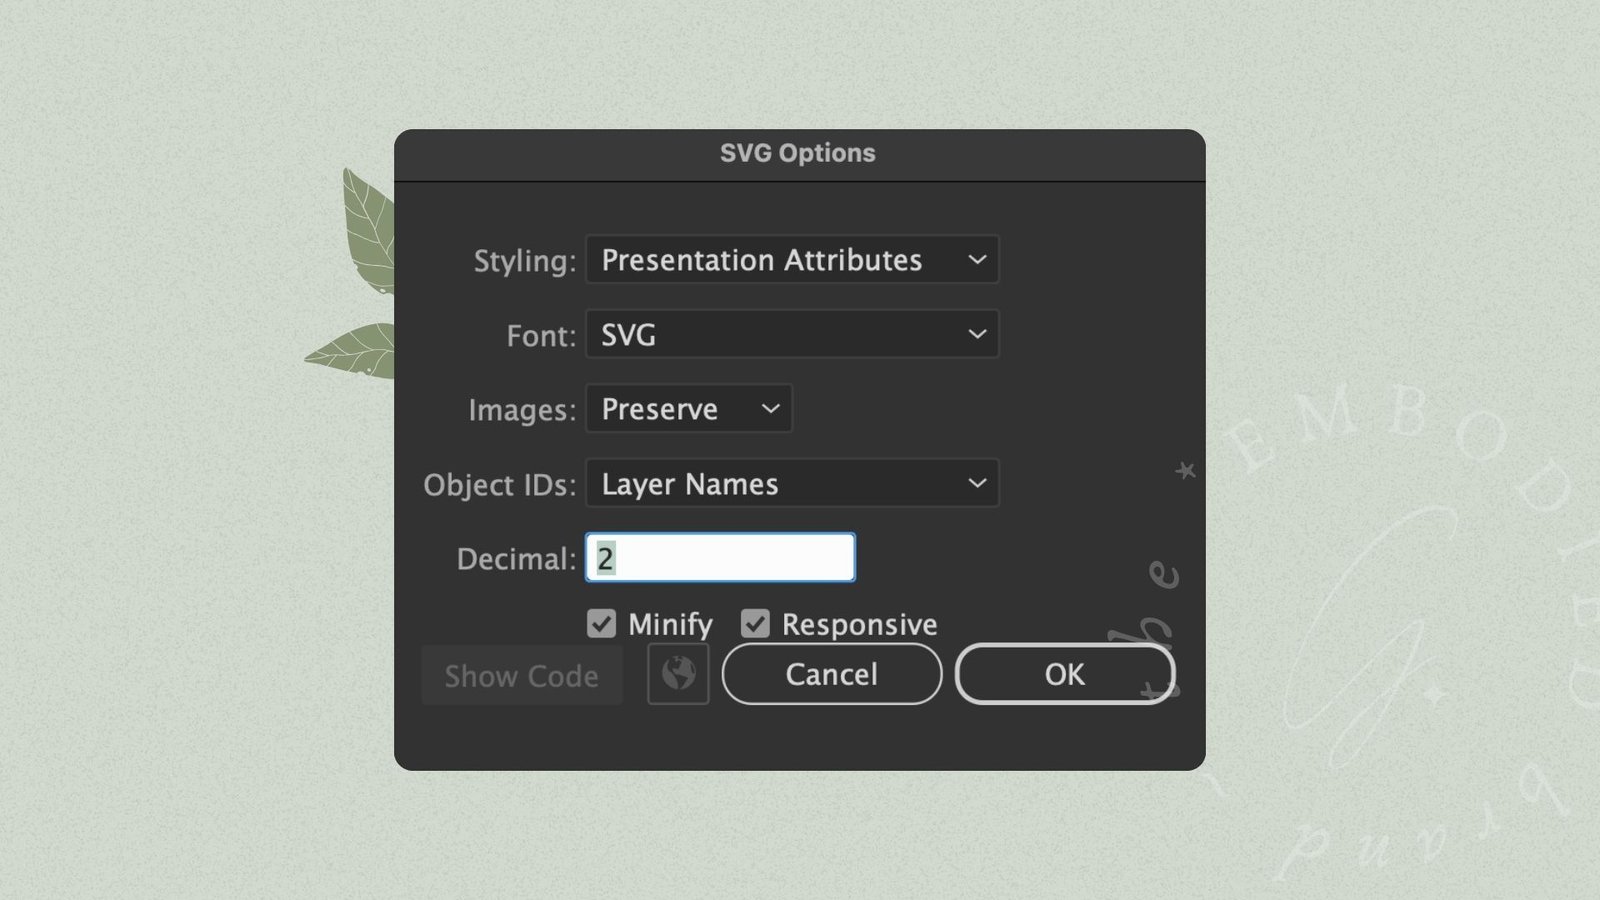
Before you export the materials, you’ll get the SVG options dialogue, where you’ll want to make sure you set the styling to “Presentation Attributes”.
4 – Drag and drop into Canva DESKTOP APP
Then you can drag and drop your new SVGs into the Canva Desktop App! It can be downloaded for Mac, and Windows (10 or later), super quickly and easily! You’ll want to make sure you use the desktop app for this, because for some reason, the in-browser version doesn’t accept SVGs properly, and will import your items as corrupt uploads. Using the desktop app solves these problems, and is 100% worth it!
5 – Use your new SVG Assets!
And now that you have your assets in your library… you can use them!

Looking for fun SVG assets already in the Canva library?
Like I’ve said, not every project needs custom SVGs – and there are thousands upon thousands already in the library for your use! If you’d like a quick way to get to mine, just check out my profile. Or, I also have a variety of breakdowns of things like cottagecore assets, floral assets… and more, here on the blog!
Happy designing!
Need templates designed for YOUR business?
If the DIY Canva template route isn’t working for you… then there are still options for your content creation needs. Designers (like me!) are always willing to create custom template sets, or you can purchase templates in our shops, that you can use as your starting point for customization! Then you’re not digging through the template library, you have a full starting point, right there, easy to use. I’ve got mine available here on my site, as well as on Etsy, and Creative Market! So check out the options, and let me know how customization goes for you.
If you’re looking for custom design… don’t hesitate to reach out!





0 Comments